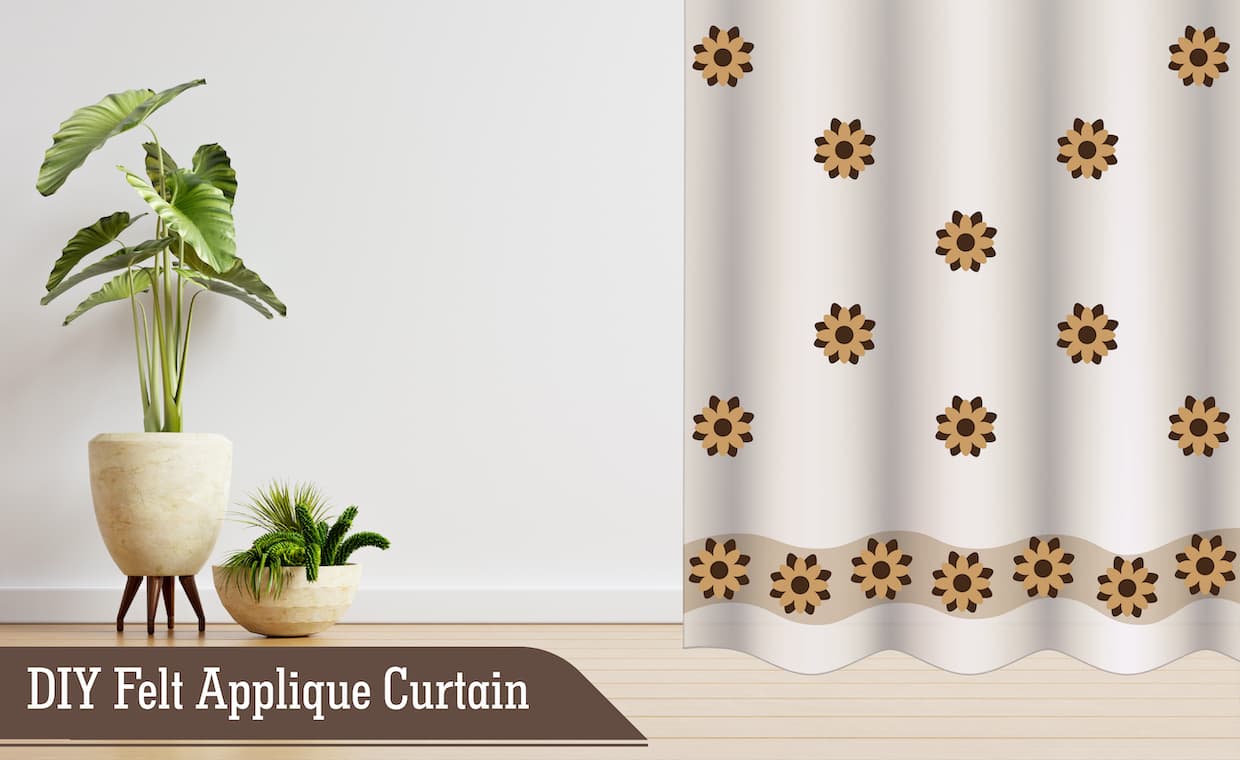
DIY felt applique curtain project is for someone who loves Romany Style. Read this blog to know how to make bright and fresh-looking felt appliqué curtains to zing up your room.
Appliqué is a French word that means ‘applied’. Appliqué is a sewing technique, which involves layering a piece of fabric with another. It can either be sewn or simply stuck with fabric glue. Here, the fabric used for appliqué is ‘felt’, which is a cloth made from pressed wooly textile.

Felt decorations can give curtains a stylish, brightly coloured Romany look. Felt pattern shapes can be cut out and stuck down with glue. Although felt does not wash well, the colours are bright and will stay fresh-looking for a couple of years. The appliqué curtains are lined with a plain cotton lining.
For other curtain decorations, check out the link below:
Variety of textiles are included in the Romany style like – hand-dyed, woven, embroidered and appliquéd. In this DIY felt appliqué curtain project, the main pattern theme is a flower treated in a stylised way. These floral patterns are taken from East European folk art and arranged in a typical way for decorating a long skirt or an apron.
Things Required For DIY Felt Appliqué Curtain

- A brush
- Buttons for decoration
- Cotton drill: 2 X double the window width x the height plus 10 cm
- Curtain rings
- Fabric glue
- Felt in four other colours (for example – green, white, black and yellow)
- Iron
- Lining fabric–Can be cotton sheeting
- Needle and thread
- Pencil/chalk
- Pins
- Rufflette tape for curtain headings
- Scissors
- Sewing machine
- Thread
Flower Cut Out Template
Draw patterns or copy them (enlarged to the desired size) and cut them out of thin paper. Then pin the patterns on the felt and cut out the shapes.

The Step-By-Step Process of Appliqué Work Curtains
These curtains are lined and headed with a simple tape and curtain rings. The decoration is glued in place with strong fabric glue but could also be fixed in place using a contrasting blanket stitch.
- Cut out the curtain and lining lengths. Draw the patterns and cut them out of the coloured felt.
- Arrange the patterns on the background and then glue each one in position (if you like hand-sewing, then these can be edged with contrasting running stitch or blanket stitch).
- Turn over a narrow hem on the lining side seams and then pin the linings on to the front of the curtains along the top edge, allowing roughly 2.5cm for the seam. Stitch and then turn the lining over onto the back and press the top seam flat.
- Pin the heading tape to the lining about 2.5cm from the top edge, then stitch it using the same colour thread as the curtain so that the stitching is invisible on the front.
- Fit the curtain rings onto the heading tape and hang the curtains from the rail. Pin up the hem with the lining tucked into the seam, then loosely slip-stitch the hem (this can be done without taking the curtains down).
Sit down and enjoy the impact of DIY felt appliqué curtains…and hey! Don’t forget to click pics and post them on your social media handles to attract likes from viewers!
Try out some more DIY projects, below given are the links:
7 DIY Wood Home Décor Ideas
Essential Furniture Makeover Ideas – Do It Yourself
Author Bio
Huta Raval – An English Literature and Journalism Topper, Huta Raval has graduated from the L D Arts College, Ahmedabad. Post serving for 23 years in the NBFC and Public Library Sectors her desire for ‘writing the unwritten’ brought her to the creative field of content writing. Her clientele comprises of NGOs, Blogging Platforms, Newspapers, Academic Institutions, et al.


