
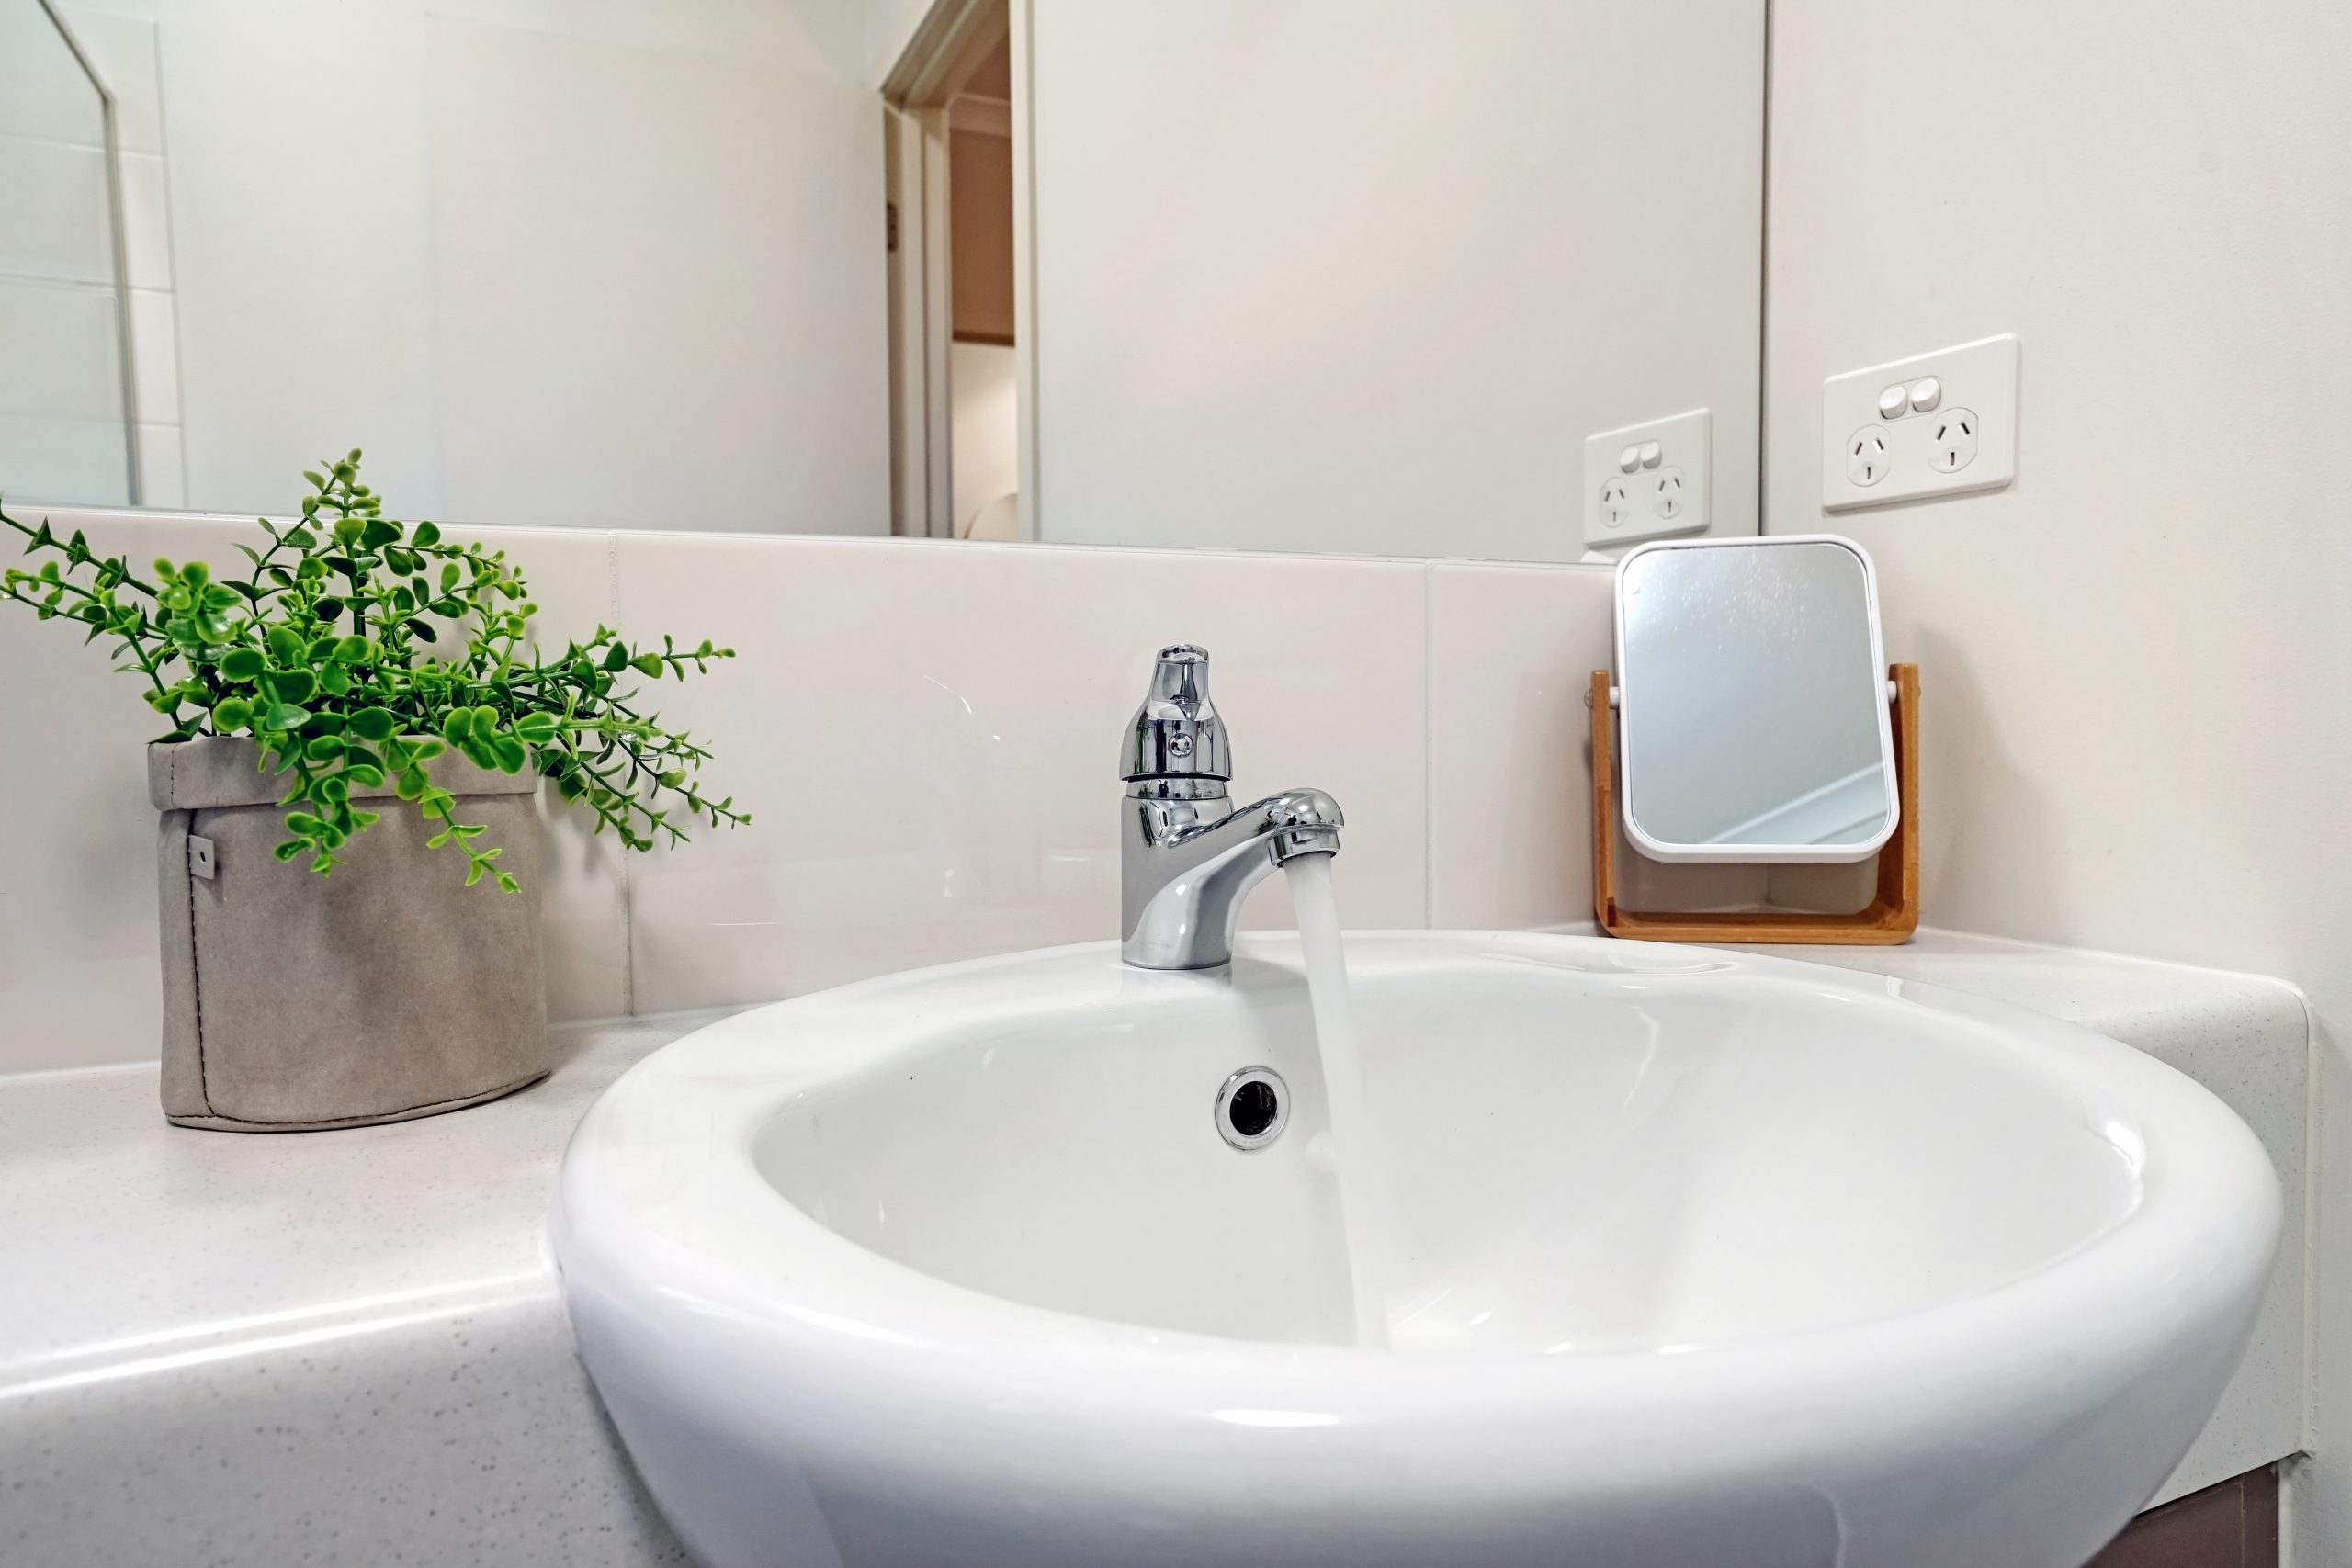
Do you wish to give your small bathroom an elegant, classic, and stylish face lift? But the problem is, you don’t have any precise idea how to do get it done. If YES is your answer, then you have hundreds of options to try. But the easiest and the most cost-efficient instant makeover you can try by installing a pedestal sink. The idea may sound simple but is an immediate solution for your makeover plan.
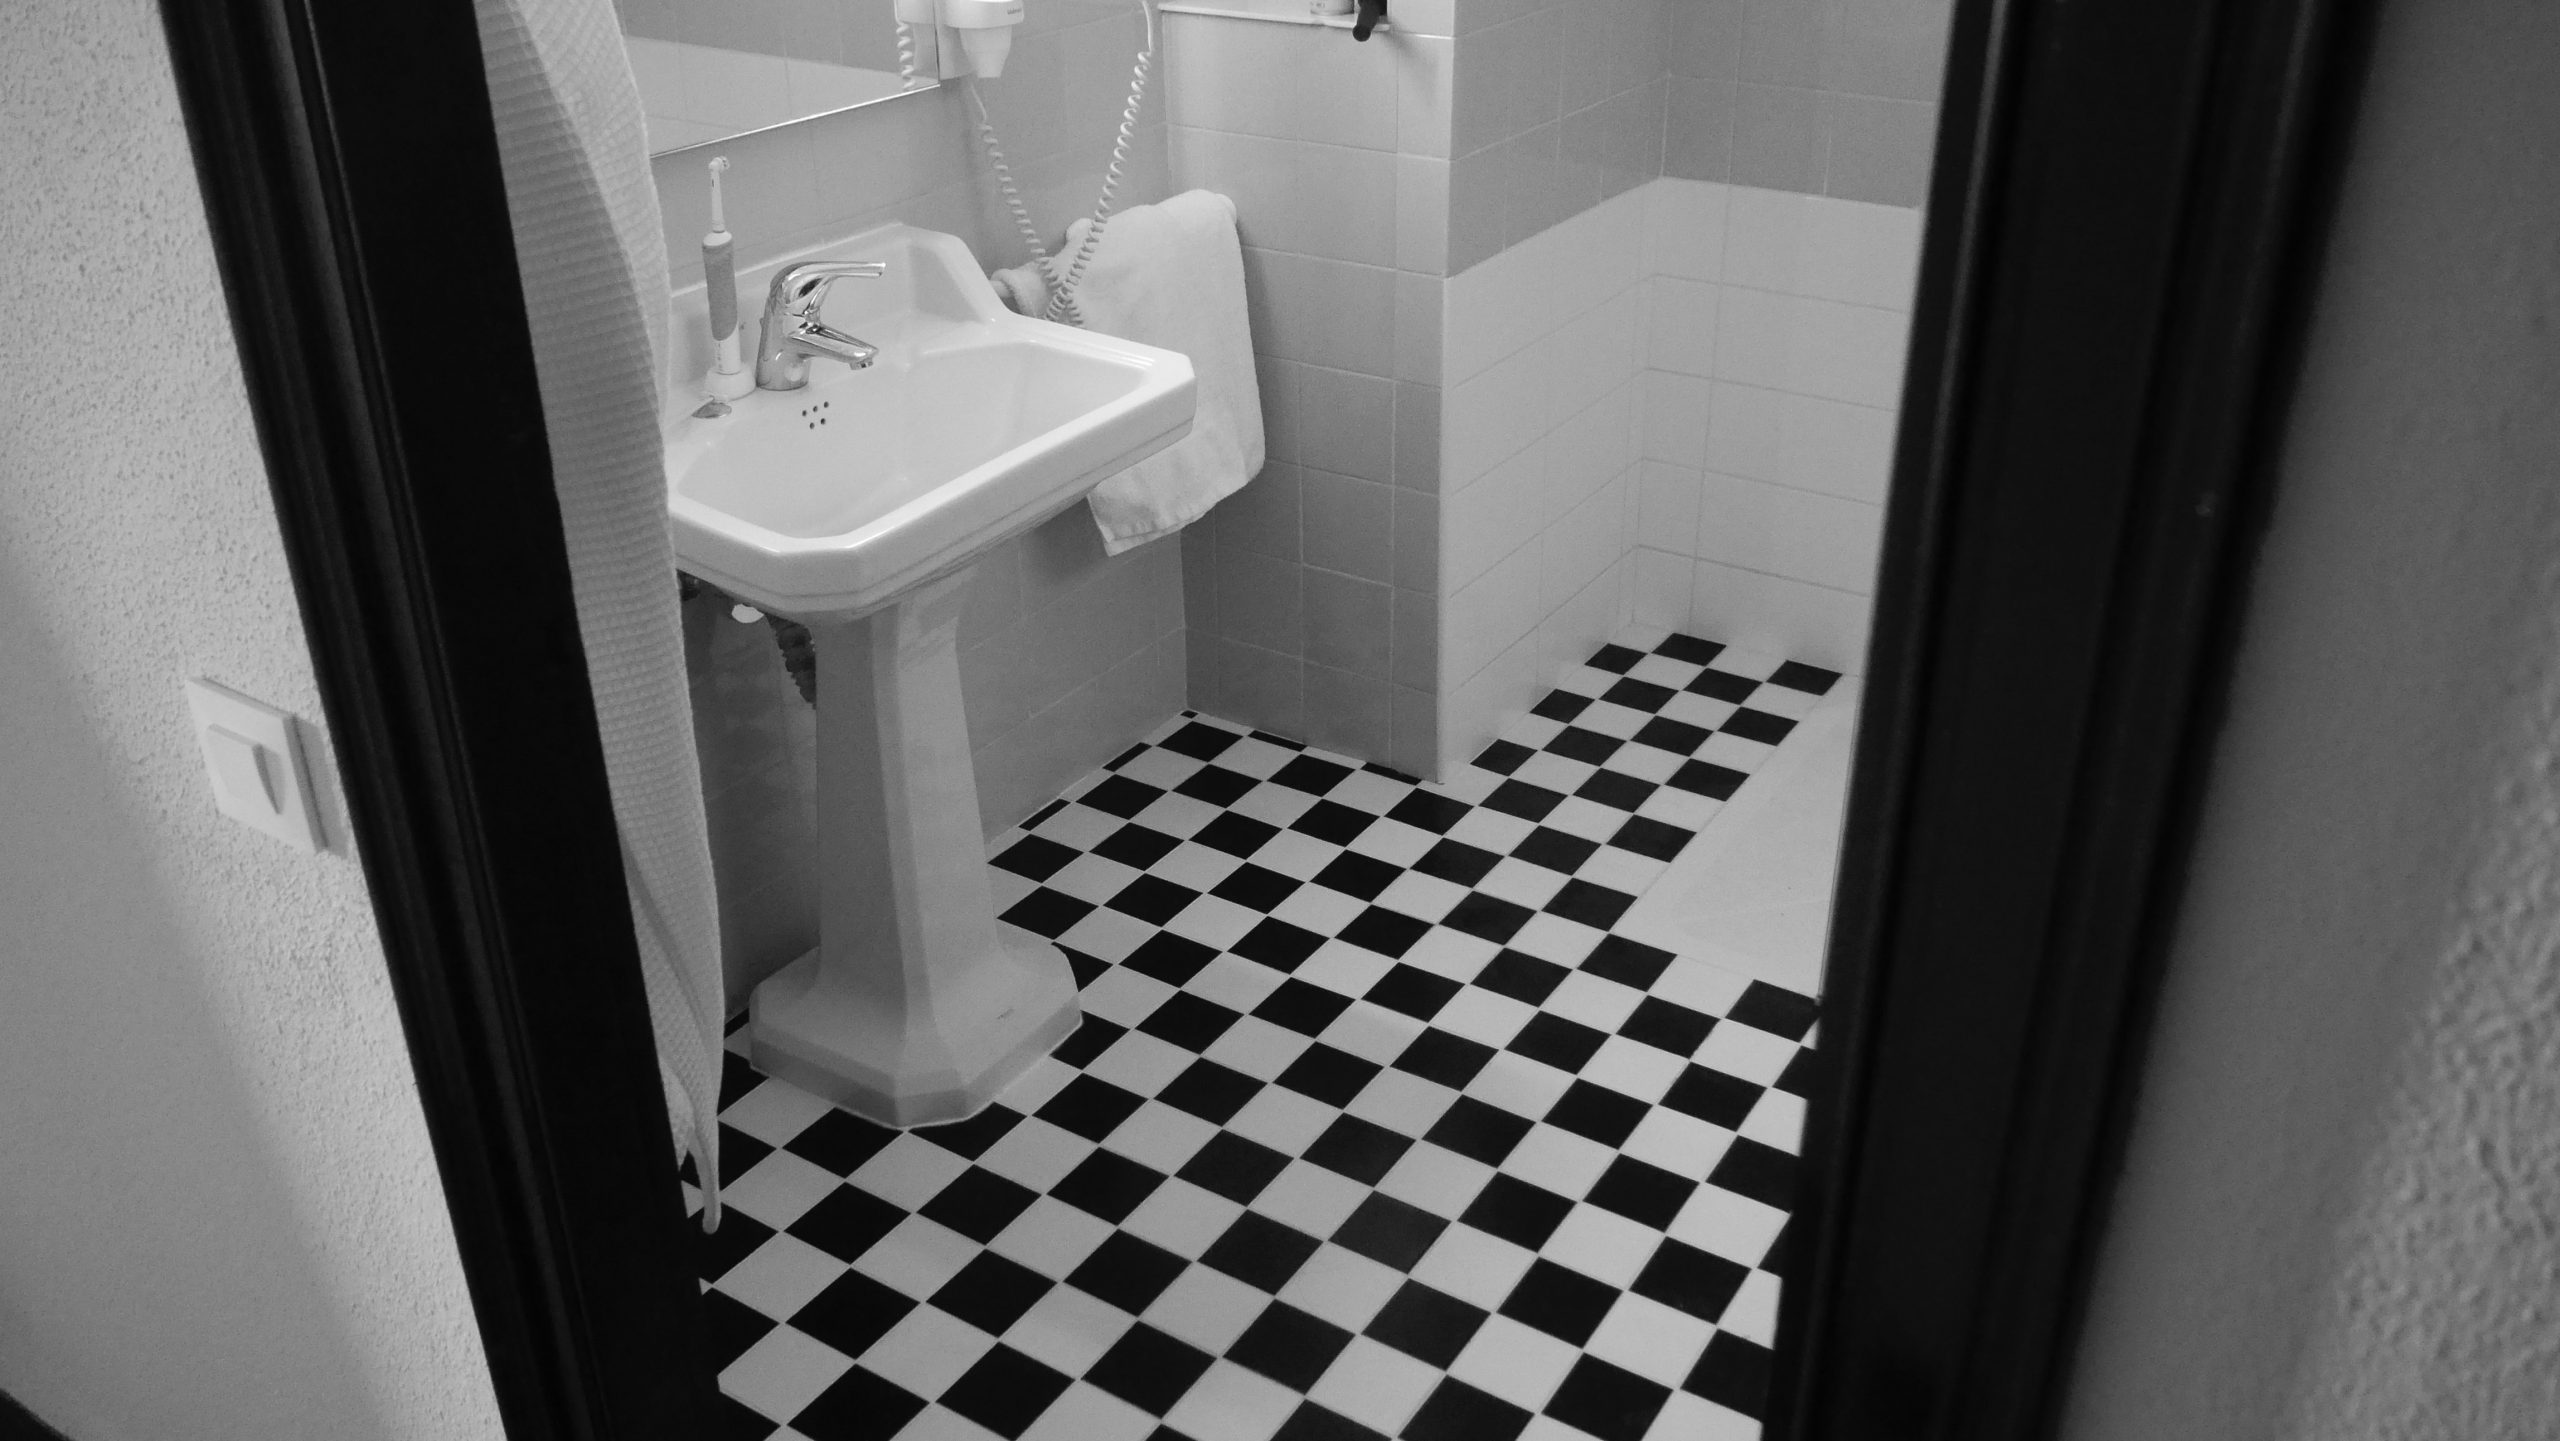
Are you wondering what exactly a pedestal sink is? Okay, here goes the one-line definition: it’s a wall-mounted sink with a basin supported partially by a floor pedestal. The concluding remark is, these basins look awesome and they can instantly change the look of your ordinary washroom.
A pedestal sink makes a small bathroom look bigger since you have managed to free up both visual and physical space occupied by a vanity cabinet. Also, as the drain and the water pipes are placed hidden behind the pedestal, the arrangement gives the pedestal sink a smooth, clean and smart appearance.
Which Material and Tools You Would Need to Install a Pedestal Sink?
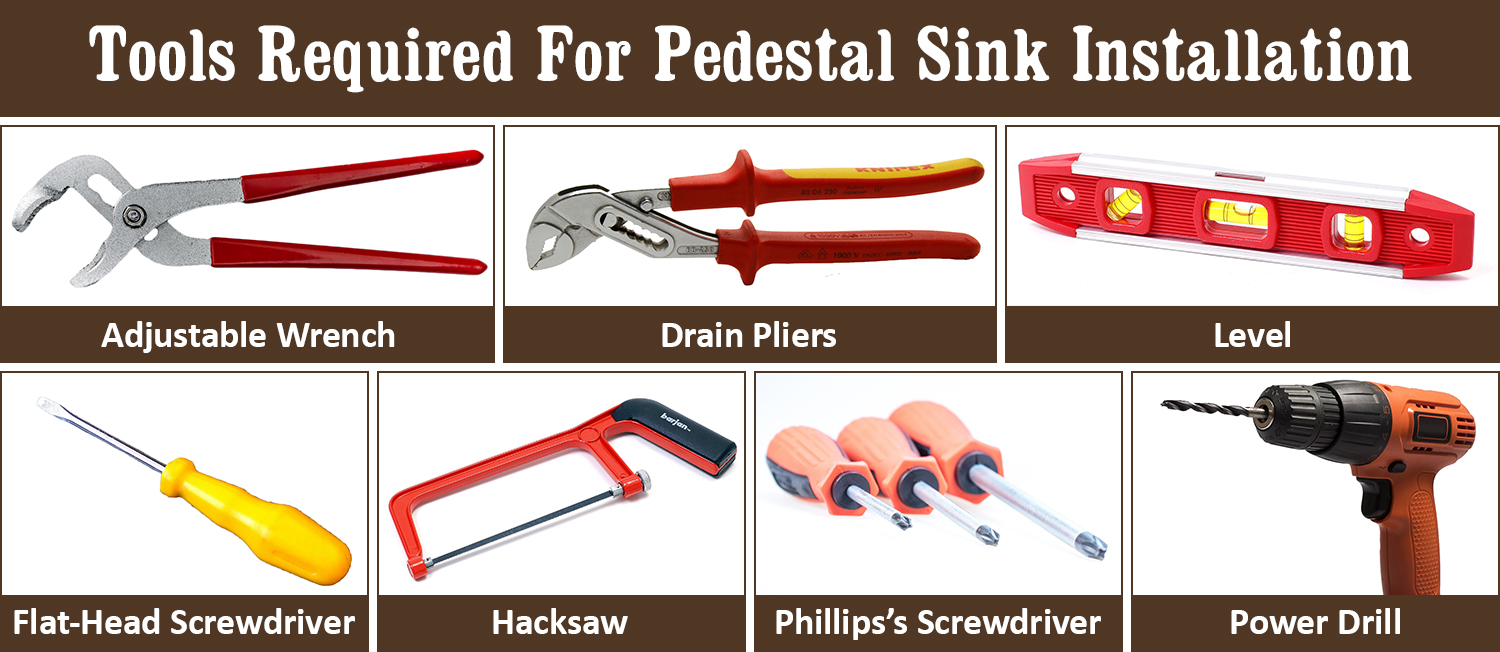
What are the Tools Required for Installing a Pedestal Sink
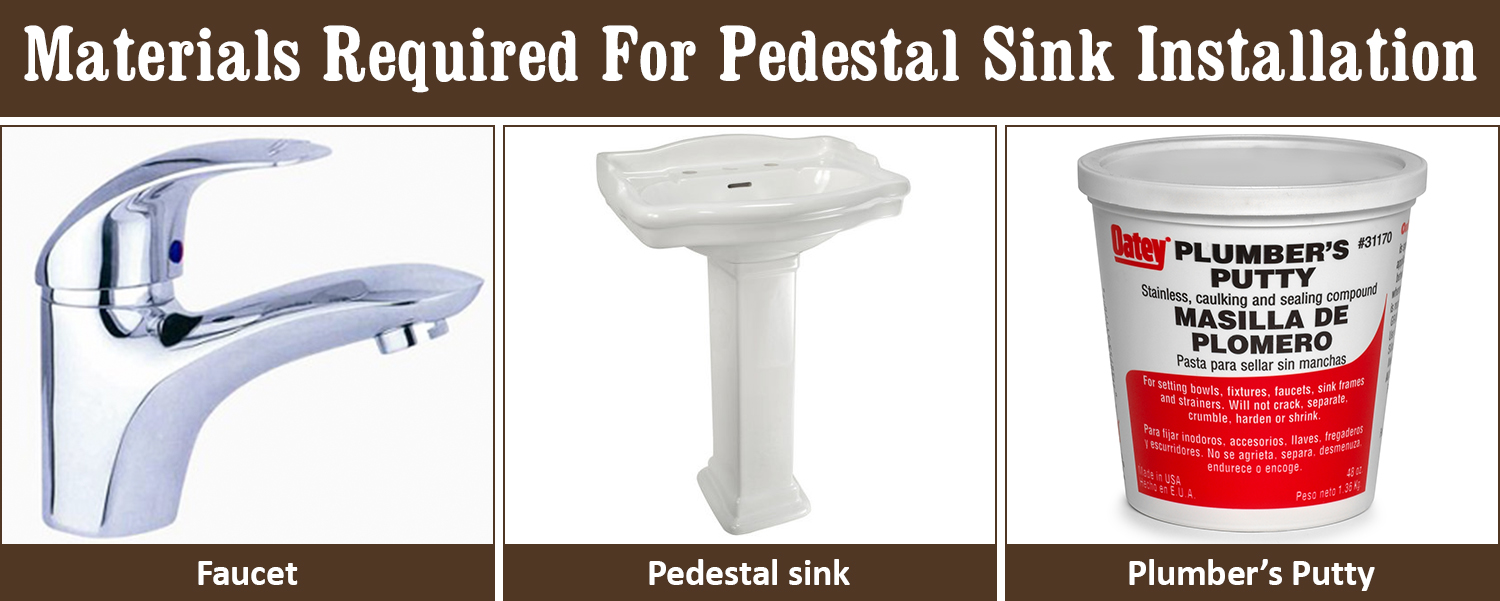
What are the Materials Needed for Installing a Pedestal Sink
How to Install a Pedestal Sink?
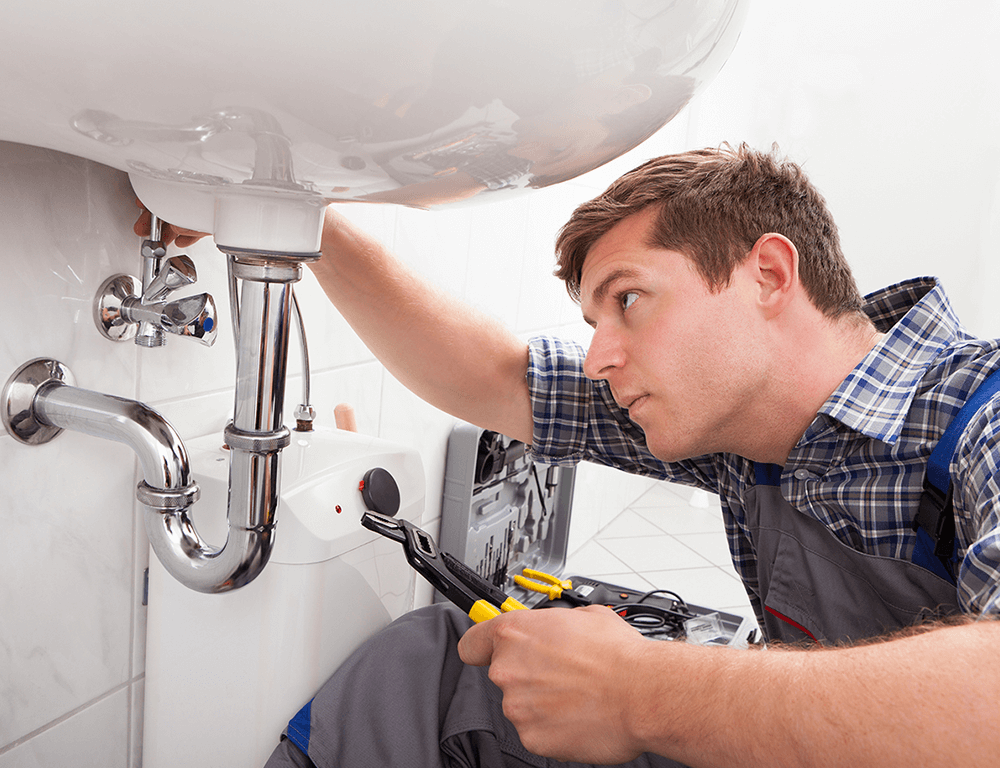
If you are a Do-It-Yourself (DIY) enthusiast, you have to follow the steps described here to finish the chore. It’s indeed not a rocket science, but installing a pedestal Sink is a demanding job. You need to be confident in managing your job and a plumbing enthusiast.
01. Mount the Wood Blocking
Using the instruction manual, you have to determine your pedestal sink’s mounting plate’s height. On the drywall, measure and then mark the location. Then, use a drywall saw to cut out the drywall piece- ensure that you cut from one stud to the other stud.
Drive angled screws through the blocking and try it into every wall stud to install the blocking. Next, cover the drywall and paint it. If you need to install tiles due to vanity replacement, it’s the right time to do it at one go.
02. Attach the Mounting Plate
In most cases, pedestal sinks come with a mounting plate. To identify where to install it, you’ve to place the sink on the pedestal top and then set it against the wall. Now you have to make a mark where it would fit- you should have at least two assistants here to help you. You should engage one person for holding the sink steadily and then ask the other one to mark the wall.
Now remove the sink and anchor the bracket for wall mounting. Since the brackets don’t come with screws, you can use either lag screws or any other heavy-duty fasteners. Here you should follow the instructions and the recommendation of the installation manual. As you attach it, use a level to ensure that the mounting plate perfectly levels across the top.
03. Install the Faucet
It is advisable to install the sink at this step as it’s easier to do it now. When the sink gets mounted on the pedestal, you will find the job more cumbersome. If you don’t have a gasket, you can use a plumber’s putty underneath the faucet-base to prevent the probability of leaks.
Now it’s time to involve your hands. You should keep on tightening the stem nuts under the faucet deck as much as possible and then use an adjustable wrench until snug. Avoid over tightening as it may cause cracking of the sink. Now you can install the pop-up assembly. Next, attach the faucet supply lines to the cold and hot sides of the faucet.
04. Mount the Sink
Now it’s time to slide the sink into the mounting bracket to set it onto the wall. When it is securely positioned, ensure that it is in level from side to side by using a level. To make sure that the sink fits well, slide the pedestal into place. Use small shims to level the pedestal if it rocks.
If the pedestal and the sink get well fitted, mark the pedestal holes on the floor and the sink’s anchor holes on the wall using a pencil.
05. Drill Holes for Lags Screws
Take out the pedestal and the sink and now drill holes on the walls for lag screws and floor anchor marks. Sometimes, the sink lag screws come from the manufacturer with the pedestal sink.
Without installing lag screws, place the sink on the mounting plate. Installing the pedestal and leaving out the screws at this point provides more flexibility. Otherwise, you may find that placing the pedestal in the right place is getting too difficult.
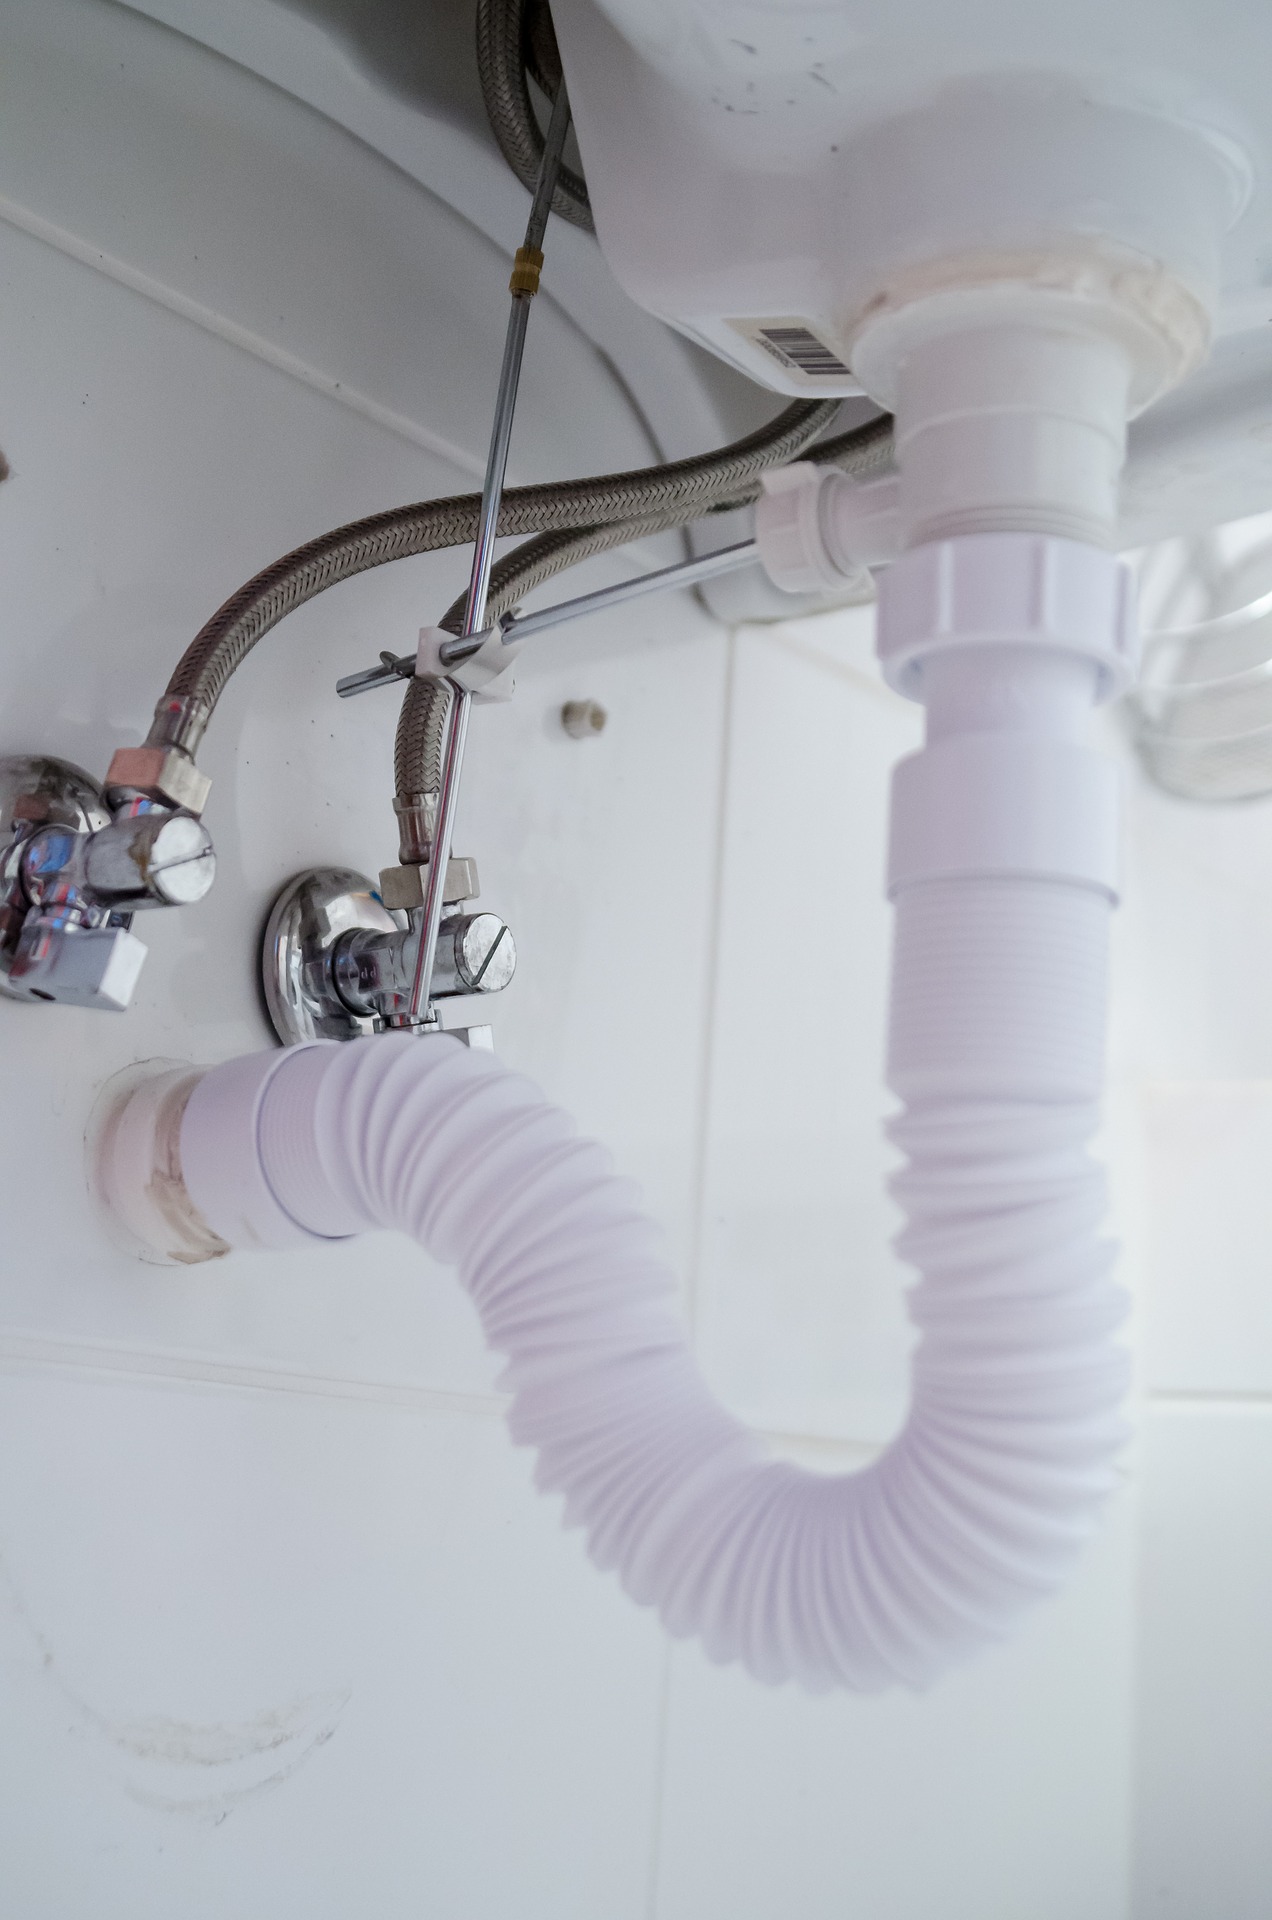
06. Connect the Drains
You would need a helper to hold the sink steadily to avoid it from tipping over the wall mount in this step. Next, test-fit the elbow assembly and the P-trap to the PVC waste. Now it’s time to measure the distance between the floor and the open vertical end of the trap.
On the pop-up waste assembly’s tailpiece, mark the same distance. Next, take out the elbow and put the P-trap’s slip-nut over the pop-up’s waste tailpiece. Finally, use a plumber’s tape to cover the P-trap’s thread and slide the trap onto the mark you had made on the tailpiece.
Now use your hand again to thread the nut against the trap and tighten it with a water pump pliers.
07. Connect the Water Pipes
Now its time to work with the shutoff valves. You have to attach them to the faucet supply lines and tighten them with a wrench. Measure the distance between the shutoff valves and the faucet if you are using chrome supply tubes. Before cutting, add an inch to allow you to bend the tubing to fitting.
While bending it, you should be careful to avoid kinking the tubing when bending. Onto the faucet, tighten the top nuts, and put some pipe dope on the ferrules to avoid leaks. Now tighten the compression nuts up to the valves.
08. Set the Pedestal
Slide back the pedestal into the place underneath the sink. Here you may need another person to help you to do the job safely. If the sink’s front needs to be slightly lifted to set the pedestal underneath, with an assistant at your side, you can do it gently.
Due to the trap and the drain connections, you might encounter certain resistance. However, if you do the connection carefully, it would lift enough to get underneath the pedestal. On the other hand, too hard or fast lifting can cause damages or leaks to the sink.
Check whether the sink is in level after ensuring that the pedestal is at its right place. Next, check the leak again by opening running water through the drain and turning back off the water valves.
09. Fix Lag Screws
Into the sink mounting holes, insert the lag screws and use a socket wrench to drive them in the wall through the predrilled holes. Alternately, tighten the screws. Ensure that you only tighten them until snug.
10. Check For leaks
Open the cold and hot shower valves and check the connections of all drains and water for leaks. Once you check all and be sure that everything is okay, use silicone caulk to fill the floor and the pedestal gaps.Although pedestal installation can sometimes be challenging, especially if you have not been dealing with advanced DIY projects, it’s ultimately rewarding.
Most plumbing DIY projects do not involve rocket science, so you should always give it a try. Why to waste your hard-earned cash while you can save it for another use? Good luck as you are now equipped enough to begin your pedestal installation job safely.
Good Luck!Before you leave this page, we would like to share some DIY projects from Gharpedia with you. Click on the links below to learn more:
DIY Project | Wood Floor Installation & Remove old! | GharPedia
DIY Toilet Flange Installation | Step-by-Step Instructions for You!
Complete Drywall Installation Guide | Do It Yourself
Image Courtesy: Image 3(a), Image 3(b), Image 3(c), Image 6
Author Bio
Jennifer Kiminza – Jennifer Kiminza is a content writer and content marketing professional at Hub Spot, an inbound marketing and sales platform that helps companies attract visitors, convert leads, and close customers. Previously, Jennifer worked as a marketing manager for a tech software startup. She graduated with honors from Nairobi University with a dual degree in Business Administration and Creative Writing.


