There are numerous ways to jazz up your home and wall paint effects are one of those ways. The great thing about faux painting effects on walls with paint and glaze is that you can decorate the rest of the room with minimalistic furniture and decor items. In this article, we will look at some easy faux painting ideas for you to try out at home. But first, let’s learn what wall painting effects are.
What is Faux Painting?
Wall paint effects are created by moving coloured, slippery glaze over an already painted surface and then letting it dry. The paint texture effects are created by moving various brushes, rags, or other tools over the wet glaze.
Now we also need to understand glaze mixing.
DIY Glaze Mixing?
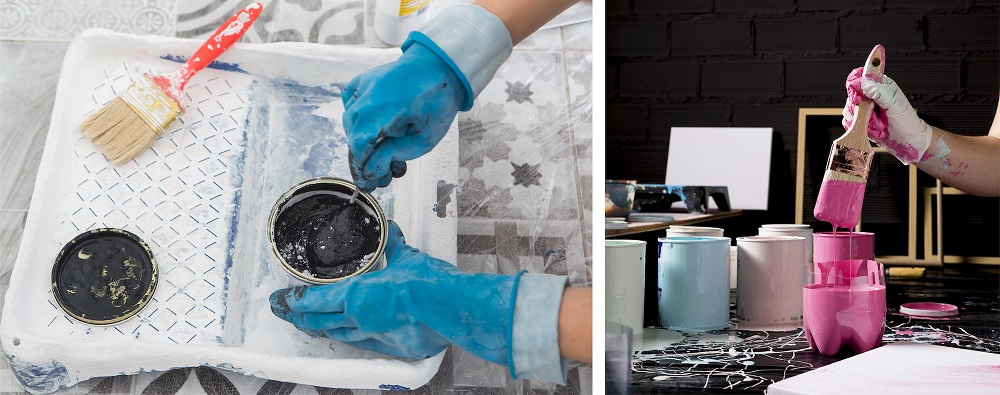
You should make sure that the putty is applied well before glazing starts. Housekeeping experts Cassandra K[399] et al. have explained the process of DIY glaze mixing in the book ‘10,001 Hints and Trick for the Home’.
The process of glaze mixing is as follows: Firstly, mix equal quantities of the paint of your choice and glaze in a bucket. Then, mix oil-based glaze and oil-based paint, and water-based glaze and latex satin paints. Also, mix in mineral spirits for the oil-based glaze and water for the water-based glaze to thin the mixture till it is about the thickness of light cream. The mixture should have a slippery feel, like cooking oil, when you put it in your hands.
Things to Know Before Starting DIY Glaze Mixing
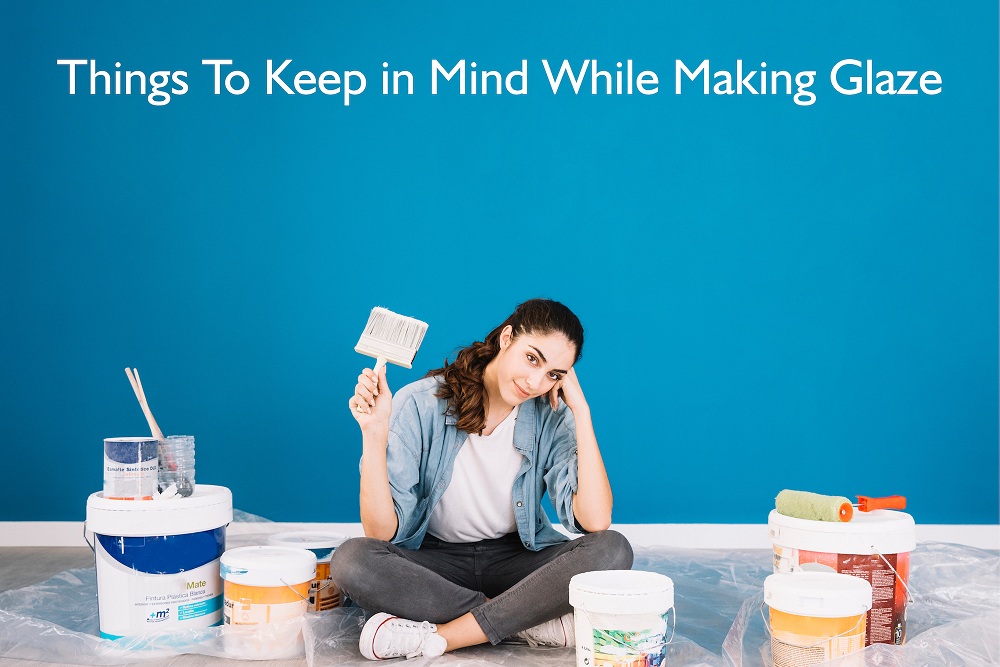
- Glaze can be water-based or oil-based.
- Water-based glazes dry faster, but they aren’t as shiny or glossy.
- Oil-based glazes last longer, but colour blue in oil-based glazes can turn yellow behind picture frames or other fixtures and develop dark patches. Exposing the blue glaze to light can restore it from a yellowish hue.
- Glaze faux painting techniques should be used on latex satin, eggshell, or other mid-sheen base coats.
- Test out the look or wall paint effect you want on a white-faced piece of hardboard before starting your project. You can also test out the technique on the wall, but make sure you wash off the glaze before it dries.
- Work in 40-inch (1 m) square sections. Don’t glaze the entire wall at once.
Different Types of Faux Painting
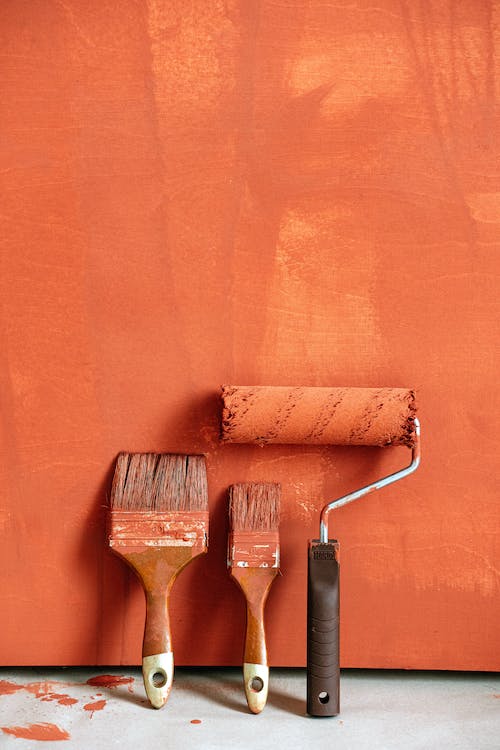
Editor, John P. H.[400] has enlisted some easy faux painting technique ideas to create textures by dragging, sponging, etc in the book ‘Decorating 1-2-3.’ Different brushes or simple materials available at home can be used to create different patterns or textures. The faux painting effects can be enlisted as below:
- Dragging
- Paint Drip Effects
- Rag rolling
- Ragging
- Colour-washing
- Bagging – Faux leather
- Sponging
- Stippling
- Frottage
- Stenciling
Let’s have a look at all these artificial effects (faux painting technique) in depth
01. Dragging Wall Effect
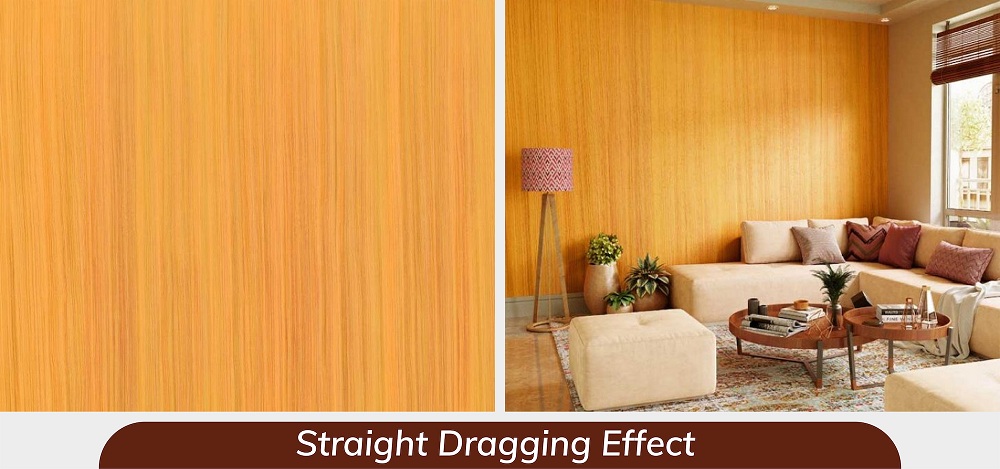
Mix oil-based glaze and oil-based paint and thin them with enough mineral spirits (paint solvent or thinner; a basic component of paint) to get the consistency of evaporated milk. Then, with a big all-purpose brush, use vertical strokes to brush the glaze down the wall. Be sure that the glaze is applied evenly so that both edges are straight. Once you have applied the glaze, place a dragging brush at the top of the wall so that the bristles and handle are vertical. Press the brush into the wet glaze so it flexes where the bristles touch the glaze, and pull it down the wall in one even stroke. This motion will produce fine stripes in the glaze through which the lighter base coat will be visible, creating the required paint faux effect.
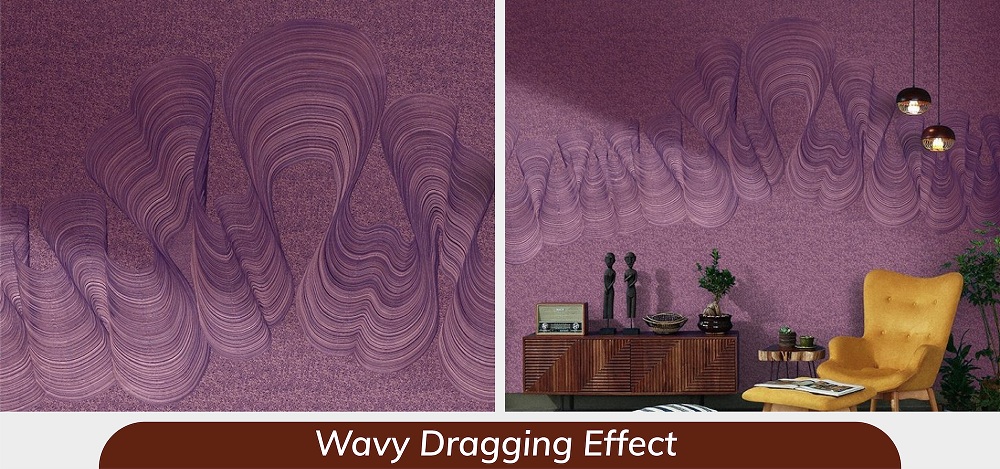
In the case of the dragging paint effect, different types of paint brushes create different effects. If you want to achieve this wall paint effect in a room with high walls, you can use a very soft household broom taped to the end of a long pole. This dragging paint effect is most effective when the two colours are noticeably different and you use a dark glaze over a pale background, like a maroon glaze over a baby pink base. This effect will not be noticeable if both shades are light or dark, like a white glaze on a yellow base coat.
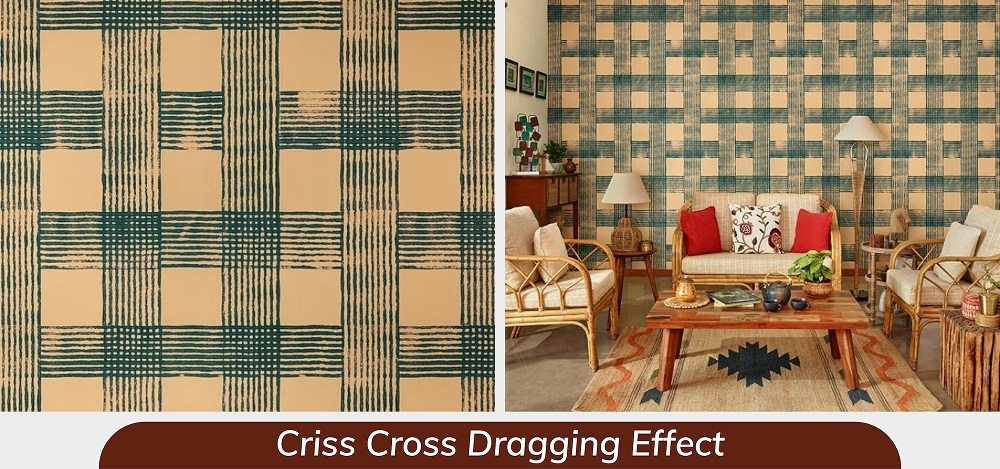
Expert Tips of Dragging Effects
- Make sure that your glaze is thick enough to remain on the base coat. If it is too thin, the stripes made with the dragging brush fade away in a few seconds.
- If the glaze is too thick, you won’t be able to make continuous stripes from the ceiling to the floor. Thin the glaze by adding mineral spirits bit by bit, and stir well till you reach the right consistency. Be careful not to over dilute the glaze.
- If you find that your glaze is not dark enough or there isn’t any contrast between the base coat and the glaze, mix a little artist’s colour in a small amount of glaze, then add this to the rest of the glaze in the bucket. Stir well.
02. Paint Drips Effects on Wall
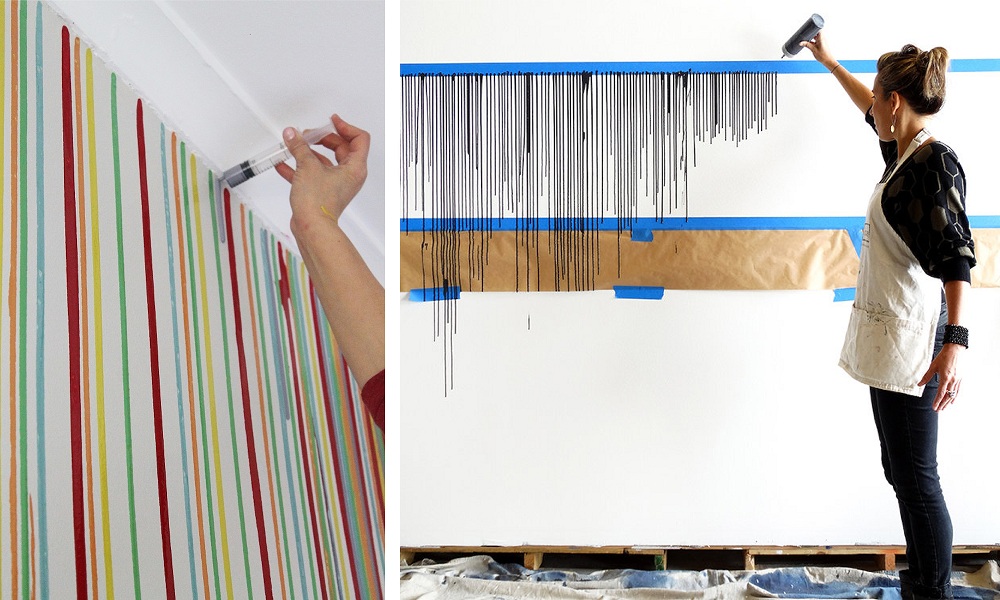
This is the most fun and easy painting idea, and you don’t even need to use a glaze. You can achieve a lot of different patterns and designs with this wall paint effect. The paint drips method is so easy that you can simply paint over an existing coat of paint (after cleaning it, of course).
The only tools you need to achieve this paint faux effect are syringes, a putty knife or something similar, painter’s tape, and a plastic drop cloth. You can use regular syringes for this method or ones specially designed to hold and distribute paint and have a slightly wider nozzle. If you don’t have any syringes, you can even use ketchup, mustard, or other squeeze bottles with nozzles.

In order to achieve the paint drip effect, you must load up your syringes with glaze or paint, place the nozzle at the point where the wall and ceiling meet, and squeeze out the contents. Take care not to squeeze out too much paint at once.
The amount of paint you will need for a paint drip effect on a wall depends on the length and number of drips you want. You can use as many colours as you want with this method. It all depends on the look and feel you want to achieve.
If you want the drips to start midway on the wall, apply painters’ tape to the starting point and start from there. If you want the drips to stop before the skirting or the floor, use the painters’ tape at the end mark and a putty knife to press it down to prevent seepage.
To stop the paint from creating a mess, secure a plastic drop cloth to the skirting board with painters’ tape.
03. Rag Rolling Effect
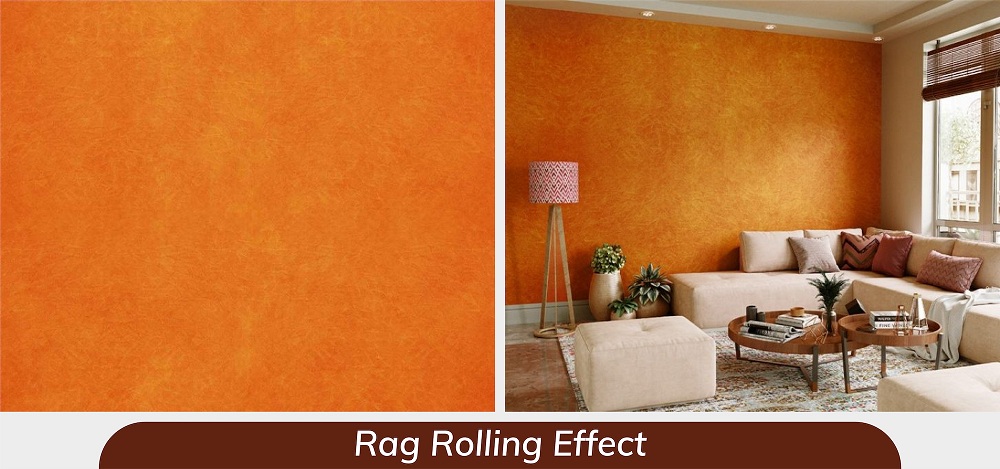
You can achieve this wall paint effect by jabbing the freshly painted glaze lightly with a large brush. Since the surface of a stippling brush is larger than that of an all-purpose brush for rag rolling paint, it will save you time and energy. Once you have jabbed the glaze with the stippling brush, neatly crumple a cotton rag in your hand and gently roll it up the wall in any direction. This motion lifts the wet glaze from the wall to produce a random pattern on the wall.
04. Wall with Ragging Effect
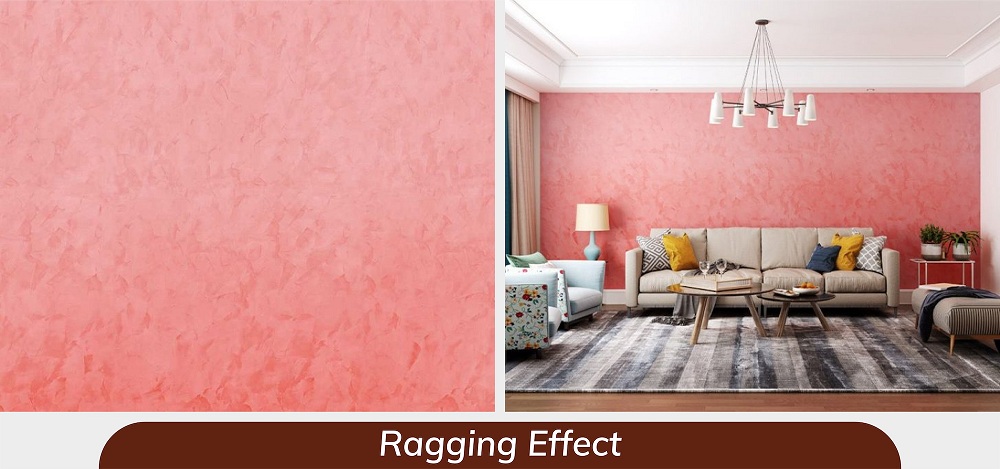
This effect is subtler than rag rolling and produces a marbled look. Ragging wall texture is an easy method where you gently dab a crumpled rag over the wet surface of the glaze. The more times you dab the glaze, the flatter the final paint texture effect. Different rags will produce different looks. For example, cheese cloths imprint their knitted cloth, and cotton gives a smoother effect. Ensure that the rags you use are free of lint (loose fibre). If you have some old elements lying around at home, then have a look at
Expert Tips for Ragging it Right
- Work fast from one corner to the other without stopping for a neat finish. A “watermark” will be left behind and become evident if you overlap over already dry edges; it will be impossible to remove.
- If you end up with a watermark, you can wash the whole area and start again.
05. Colour-Washing on the White Wash Wall
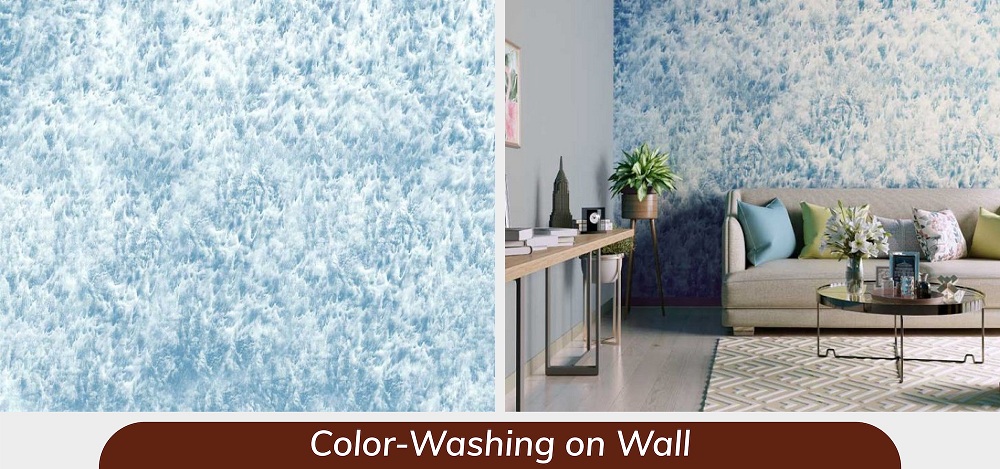
In this easy faux painting technique, you dip a soft rag into the glaze and wring it out before wiping it on the white-washed wall. You can move in any direction you want. Just pretend like you are washing the wall with water and soap.
For this wall paint effect method to be effective, the glaze should be fairly thin, like milk. Spread your hand as far as you can safely reach. The more you rub the glaze on the wall, the more delicate the finish will be. To achieve an aged look, apply a second coat of glaze in a curving pattern around the top and bottom corners and near the ceiling while colour washing. It will make your wall look like a misted picture frame and give it a professional finish.
06. Bagging Effect – Faux Leather
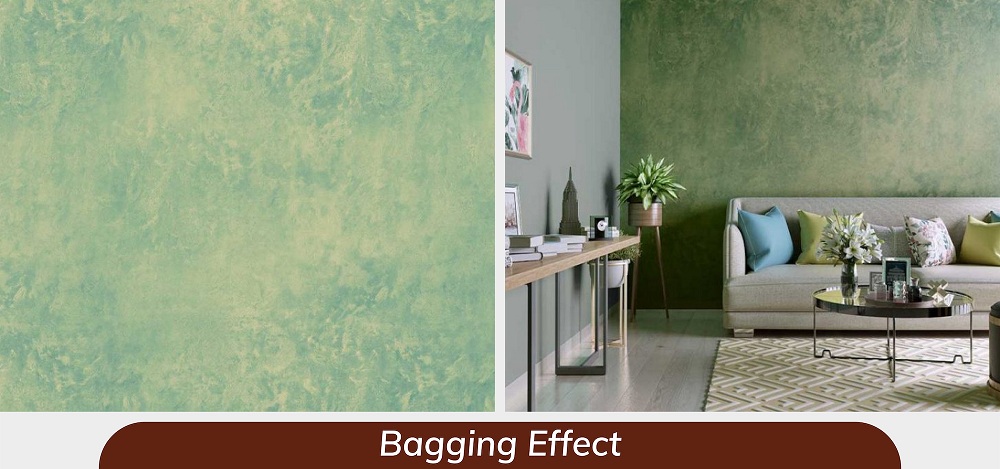
The bagging paint effect method gives your walls the look of old leather. It is best to have a thicker glaze than normal for this wall paint effect to look good. Skip the thinners (mineral spirits and water) when making the glaze to get the right thickness. The consistency should be that of hair shampoo.

Apply a thick layer of glaze to the wall with an all-purpose brush and use a crumpled inside-out plastic bag to dab the wet glaze to create a faux leather paint effect. Use thicker plastic bags for a more dramatic paint texture effect. Even leather tiles are available as a contemporary choice for flooring to match your bagged walls.
07. Sponging Effect on Wall
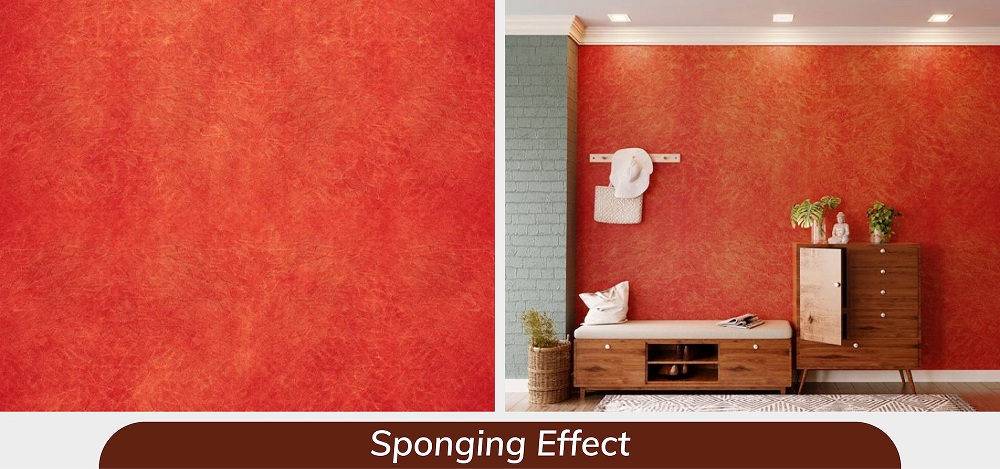
As the name suggests, you will require sea sponges to achieve this wall paint effect. While single-colour sponging is overused, two-colour sponging is more effective. In this method, you don’t need a glaze as you can use any paint, but you will need natural sea sponges that are a bit hairy with tiny spikes.
To begin the project of sponge wall painting, dip the sponge in water or mineral spirits to make it soft and wring it out. Now, lightly dip the sponge into a shallow tray of paint and remove the excess paint by dabbing it on a newspaper or cloth. Then, lightly dab the sponge on the wall while moving your hand around in different positions to prevent yourself from repeating the marks. To get to tricky or narrow places, use a tiny piece of the sponge to dab the wall.
If you are using two colours for this paint texture effect, go over the wall in a similar way with the next colour. Make sure, however, that the first colour you use is lighter than the second, as this gives a wonderful gradient finish.
While sponging walls with paint, make sure to dab the paint lightly. Too much pressure will create a speckled effect because of the holes in the sponge. Make sure that you choose the right sheen for your wall so that the sponging effect leaves a lasting impression.
08. Stippling the Wall
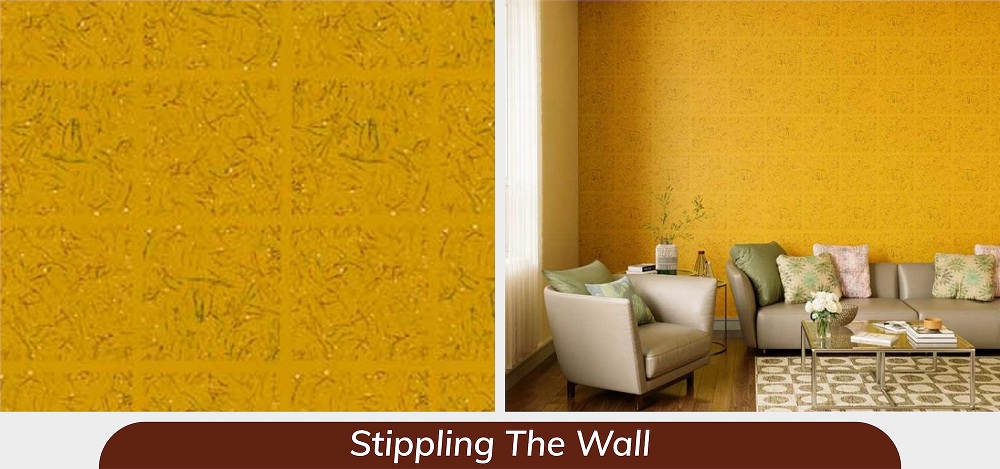
Stipple paint, considered the toughest wall paint effect to achieve, is an elegant finish worth attempting. This method needs a thick glaze, like in the case of bagging. Once you apply the glaze to the wall, jab a stippling brush over the wet surface to reveal barely visible pinprick marks that make the wall slightly textured.
You can move the paint around by jabbing the brush into a darker patch of glaze and then going over a dry part of the wall. For a transparent stippled-paint look, use an oil-based glaze with a slight colour. An even finish is crucial for this effect to work. Ensure that the glaze doesn’t look like clouds when you are finished.
09. Frottage Wall Effect
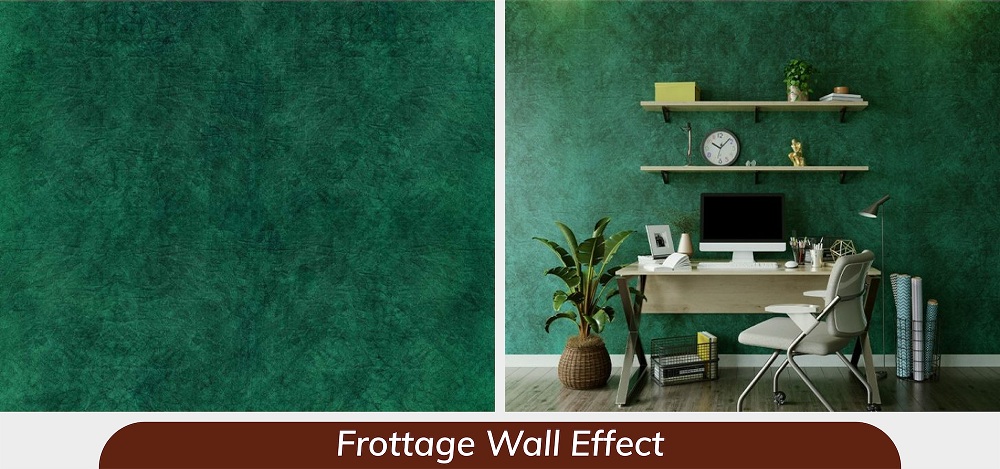
Frottage is a fun, fast, and messy way to create a wall paint effect. The objective is to produce a random, mottled look like old plaster. You can use more than one colour or a newspaper for the best result.
First, you need to apply the glaze to the wall with an all-purpose brush and immediately press a piece of newspaper or brown paper on the wet glaze. Pull the paper away immediately to achieve the desired effect. You can use the same piece of paper until it is too wet to absorb any more glaze.
10. Adding Stenciling to Walls

In wall stencil design, you need to use tools like stencils, a stencil or stippling brush, a stencil mounting spray, and stencil paint. You can even make your own stencil if you want a unique look.
In ‘The House Book’[386] an elaborate explanation of creating a DIY stencil is noted down. Create the base coat. After the base coat is completely dry, spray the back of your chosen stencil with the mounting spray and press it against the wall. Ensure that the edges of the design are firmly in place to avoid bleeding. Pour a little paint at a time, dip your brush or roller, dab off the excess paint, and gently paint over the stencil. Start from the edges of the design and work your way to the middle. A brush works better than a roller as it allows you more control. Remove the stencil and continue to work on the rest of the wall. Keep in mind that the base coat of paint should be completely dry before going over it with the glaze to prevent any bleeding.
Easy Wall Paint Effects Attempt
Try out some of these wall paint effects in your home and watch the glamour of your home interiors change drastically. We hope this article has been informative and inspired you to give your home a makeover with these easy faux painting ideas.
Also, make sure to check out
Create Wall Paint Effects – A Brief Overview!
Steps to Check for a Quality Paint Job
12 Qualities or Characteristics of Ideal Paint: Know Before Painting
Image Courtesy: Image 5(a), Image 5(b), Image 6(a), Image 6(b), Image 7(a), Image 7(b), Image 8(a), Image 8(b), Image 9(a), Image 9(b), Image 10(a), Image 10(b), Image 11(a), Image 11(b), Image 12(a), Image 12(b), Image 13(a), Image 13(b), Image 14(a), Image 14(b), Image 15(a), Image 15(b), Image 16(a), Image 16(b), Image 17(a), Image 17(b), Image 18(a), Image 18(b),
Author Bio
Andrea Noronha – Andrea Noronha is a content writer and editor with over 4 years of experience. Although she comes from a finance background, Andrea is passionate about blogging about interior design. Her other interests include travelling, baking, and digital marketing.
