


Ceramic products are known for their ability to withstand wear and tear. With consistent and proper cleaning and polish, your ceramic tile can maintain its quality sustainably. However, this is not to say that ceramics are impregnable and eternal.
As durable as they are, they are still prone to cracks and damages to their surface. In other situations, they could lose their adhesive strength and detach from the wall. This is a known issue for houses with damp walls as well as old houses in general.
The good news is that a tile that has come off from your bathroom wall can either be reattached or replaced if broken, and especially if it is your ceramic tile bathroom. Just a bit of work will set your tiles aright.
Also Read:
10+ Reasons Why Tiles Get Buckled, Popped-up or Tent Often!
Things to Keep in mind while doing Tiling Work at Home!
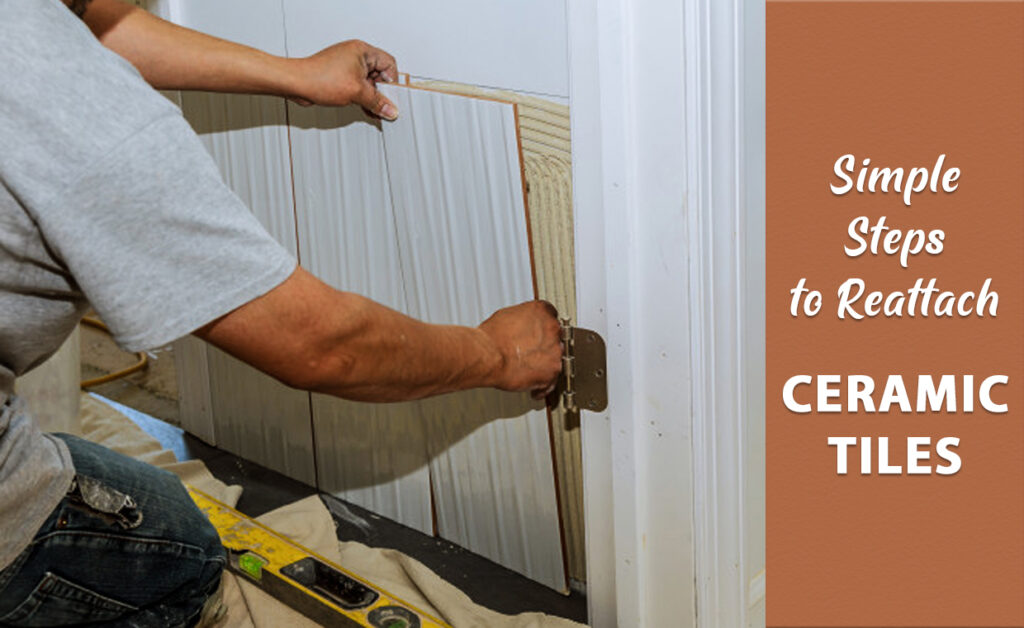
Procedures on How to Reattach Tiles
01. First Step
Wear safety glasses to protect your eyes and ensure to put on safety gloves to avoid cuts on your hand from the ceramic tile. Bathrooms, for example, can be slippery, so make sure you have got footwear with a good grip on your feet to prevent accidental falls.
Collect all the broken and damaged tiles with the tile adhesive. The best way to carry out this task is to break the damaged tile into tiny chips, which makes it more convenient to remove. While doing this, ensure you do not employ excessive force to avoid damaging adjacent ceramic tiles. Bathroom or kitchen accessories should be kept conveniently out of the way to create enough space to work.
02. Second Step
Get your work tools. Use a grout saw or scraper to scrape off all the grout from the tile linings which surround the broken tile. Try to apply caution so as not to destroy the waterproofing embedded beneath the tile.
Take your masonry bit and puncture shallow holes through the center of the tiles for removal. The holes may be more depending on size. It is still crucial at this point not to make the holes too deep.

03. Third Step
Once the broken chips have been properly removed and put away in a safe place, take off the thinset embedded on the surface. It helps immensely to have the surface smooth and clean to successfully place a new ceramic tile bathroom.
Once again make sure the waterproof membrane is intact before proceeding. If there are breakages in the membrane, they have to be repaired to prevent leakage and damage. The method of fixing the waterproofing lies on the type used.
04. Fourth Step
Use tile adhesive or thinset and apply generously on the cleaned surface. A notched trowel is ideal for bigger surface, or you could get a putty knife to apply the adhesive. Get the replacement tile and attach firmly on the wall. It is paramount that it is firmly placed on the ceramic adhesive while making sure the tie joints are perfectly aligned with the adjoining tiles.
05. Last step
Wait a few minutes for the thinset to dry completely before proceeding to grout the joints. Use a soft cloth and warm water to wipe off the excess grout on the tile surface. For joints that cannot be grouted, a waterproof sealant will do the job. So there you are, now bask in the beauty of your remodeled ceramic tile!
Also Read:
All about Tile Installation & Its Precautions
30+ Popular Types of Flooring Materials for Your House!


