


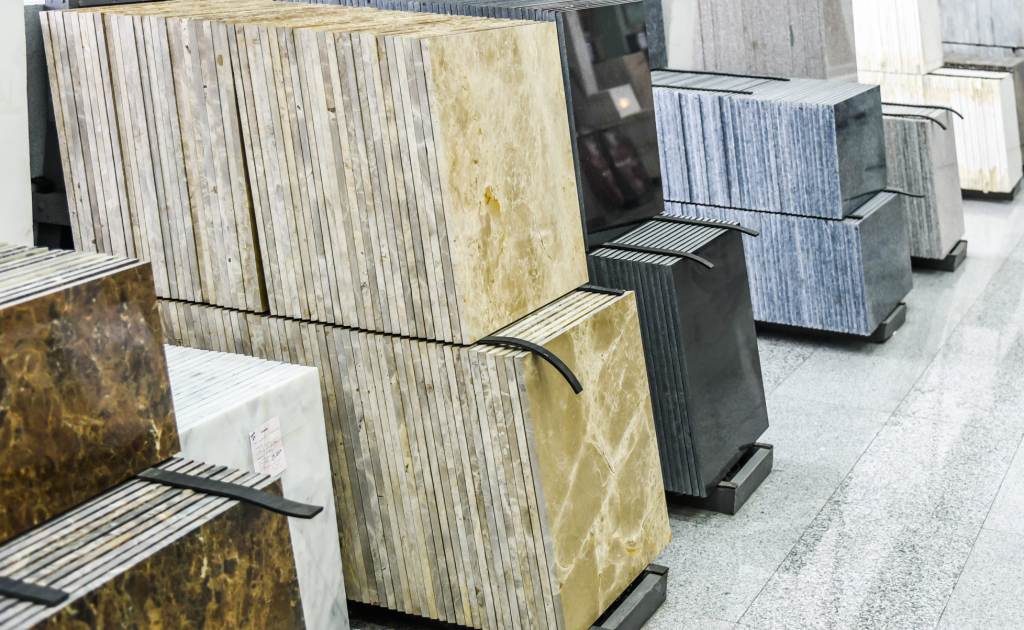
Tile installation work consists of laying off hard wearing tiles made of ceramic, stone, porcelain, or glass to cover the floors, walls, roofs, & table top. Nowadays different components of the house have different types of tiles such as roof tiles, floor tiles, pebble tiles, ceiling tiles, glass tiles and wall tiles. There are many types of flooring according to their uses, required level of finishing and economy. The concept behind using different types of flooring materials is to decorate the interior and exterior of a home.
01. Things to Keep in Mind (TKM) Before Tile Installation:
- Before starting tile installation work at plinth level, make sure that proper compaction of soil layer has been carried out.
- Also ensure that sub floor of PCC, RCC, or brickbats have been done with proper levelling with slope if required.
- Brick masonry and plaster work of all the rooms should have been completed.

- The wall tile should be installed first before you start laying the floor tiles.
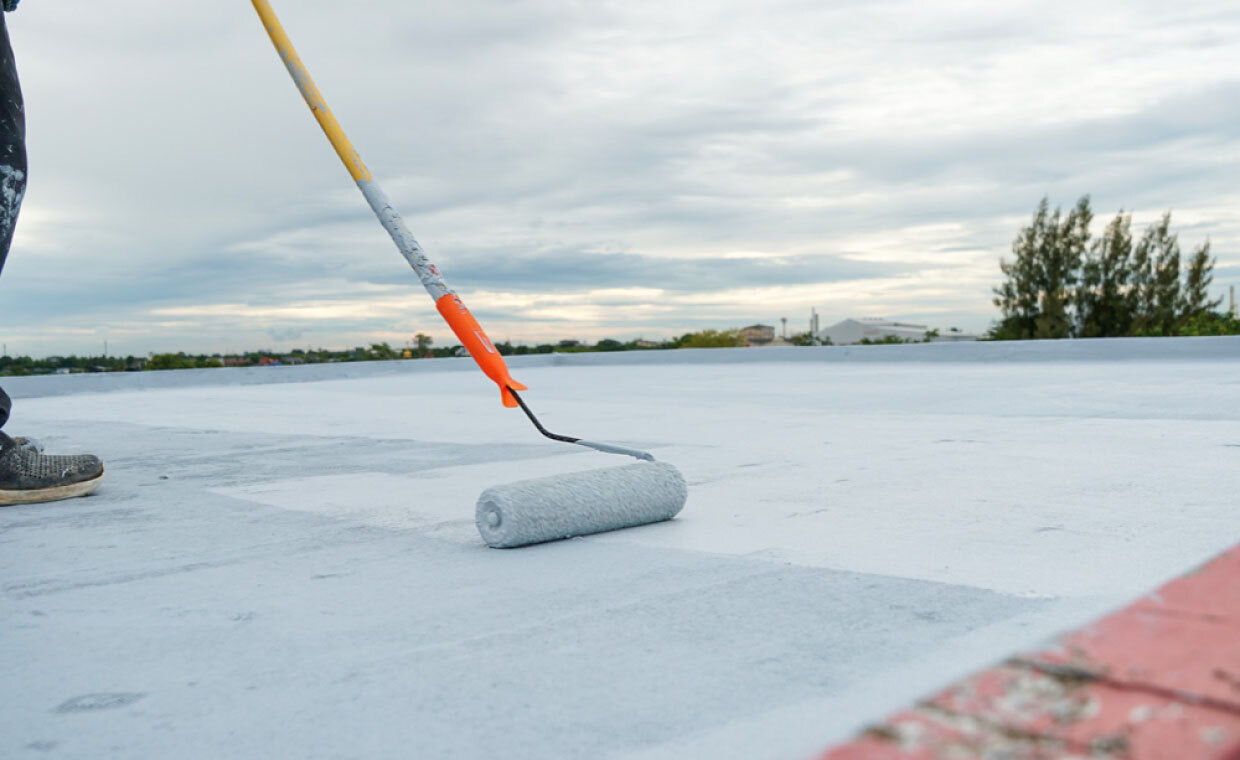
- Waterproofing should be completed first if specified in drawing or tender.
02. Materials Stacking for Carrying out the Tile Installation Work:
Tiles Installation requires construction materials like sand, cement, and tiles. It is recommended to calculate the required quantity of tiles to perform the tiles installation work as it can minimise the wastage and ultimately becomes cost effective.
- The quantity of tile is measured in the area (sq.ft or sq.mt).
- Quantity can be acquired by multiplying length & width of the room in case of floor tile installation.
- In the case of wall tiles installation, it can be acquired by multiplying length & height of the wall.
- The approximate numbers of tiles should be found out by dividing the floor area by area of one tile.
- Cement consumption for installing one sq.mt of ceramic tiles is 11 kg (CM 1:4) for 25 mm thickness, and for 50 mm thickness, 22 kg cement is required. In addition, 2.25 kg of white cement is also used for joints filling.
- Cement consumption for installing one sq.mt of Kota stone is 6.5 kg (CM 1:6) for 30mm thick bed and for mosaic tiles 10 kg (CM 1:6) for 30mm thick bed.
- Materials such as tiles, cement, and sand should be stocked in sufficient quantity.
- When materials stocks are at the bottom line, the purchase order should be placed well in advance before commencing work.
03. Checklist for Tile Installation:
- Test of all materials should be carried out, and it must be as per IS specification or as specified in tender or as per drawing.
- Assure that you have all the plants, tools, machinery and equipment for successful completion of tile installation work.
- To impose the safety of tiles proper steel/bamboo scaffolding must be done for installing the tiles on walls (for more than two-meter in height work).
- Remove all the loose and hardened mortar from the slab and clean the slab by blowing air or by jetting water on the surface.
- The sand should be screened through the sieve of approved size.
- The tiles should be soaked in water for 24 hours before using, and the applicable surface should be moist at the time of tile installation work.
- Proportioning of cement mortar or adhesive should be as per specification and must be used within 30 minutes of adding water.
Mortar or adhesive should not be used after initial set has taken place.
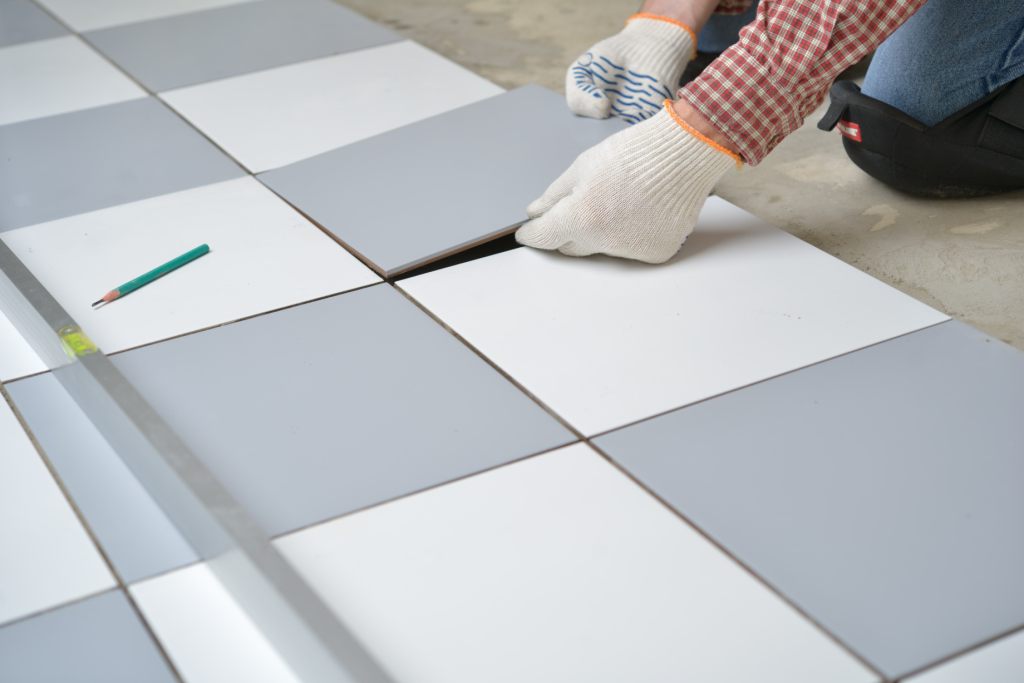
- When you are using ceramic tiles or mosaic tiles, always spread all the tiles in room/area to check whether all the tiles have the same colour, pattern, and shade. If they are different, change it. Changing subsequently would be very difficult.
- Before starting tile installation work, levelling, and marking should be done on the wall at 30 cm above from required level probably with laser torch available nowadays. (For wall tiles)
- It is very important that from where you start the work in a room/open area. If room dimension is not regular, then provide the cut pieces of tiles where there is a furniture planned over it or that area remains hidden.
- The joint pattern of tiles should be executed as per drawing or if not specified in the drawing, consult to architect or engineer in-charge.
- In the case of the bathroom, the bathroom accessories should be located at the junction of tiles. Fittings appear at centre or off center of tiles will look ugly.
- The bed (layer of screed concrete on RCC slab) of 40 mm to 100 mm should be provided for tile installation work if specified in drawing or to maintain the slope of the floor. The Bed must be cured properly for at least 7 days.
- The slope should be checked in tiling work at various locations, which may vary from 1:48 to 1:60 or as specified in the drawing. The slope should run in the direction of water outlet sleeves or towards floor gully trap.
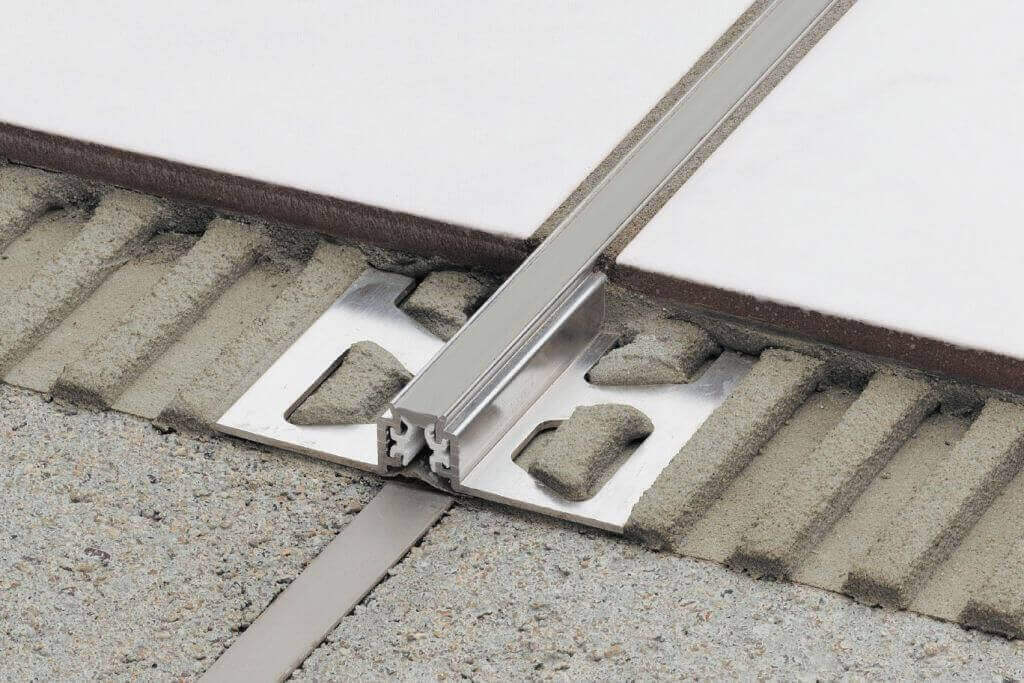
- Skirting should flush with wall plaster with the provision of groove and it should be of same shade and pattern.
- Always provide movement joint between skirting and floor tile.
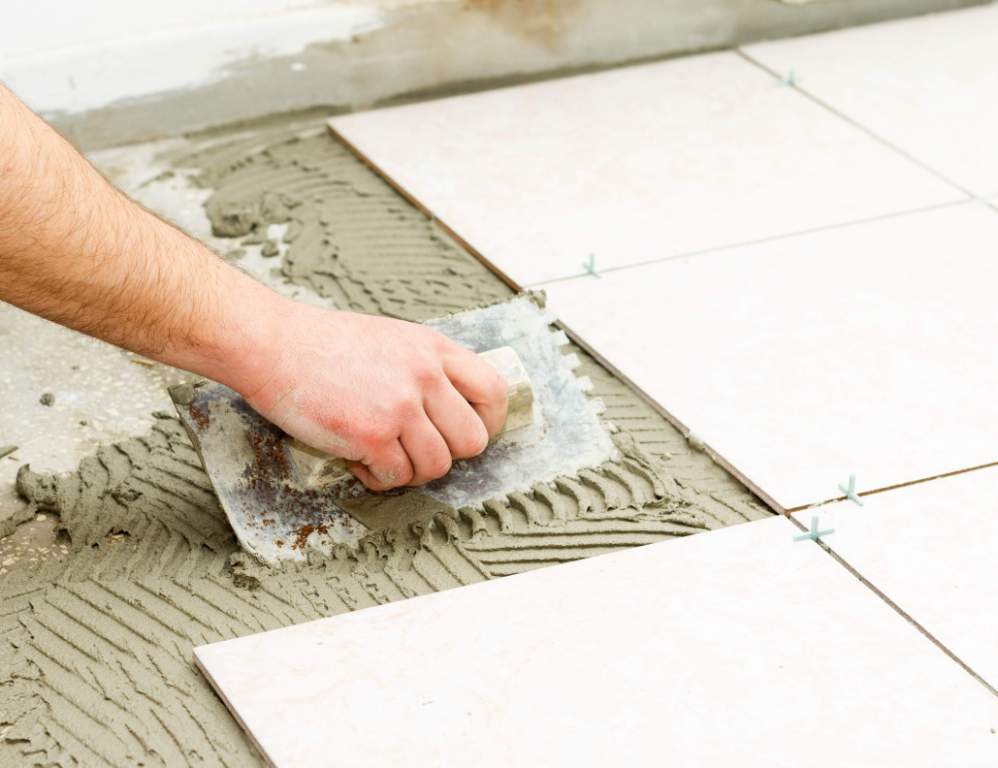
- In the case of tile installation with cement mortar bed, a coat of neat cement slurry should be applied at 2 kg of cement spread over an area of 1 sq.mt will ensure a good bond.
If you are using chemicals/adhesive for tile installation then strictly follow manufacturer’s instructions and its pot life.
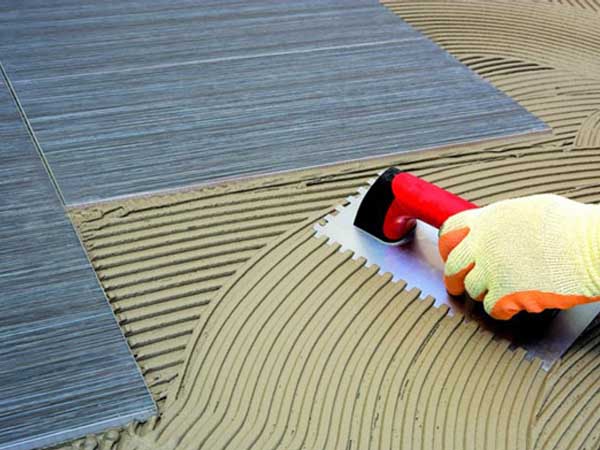
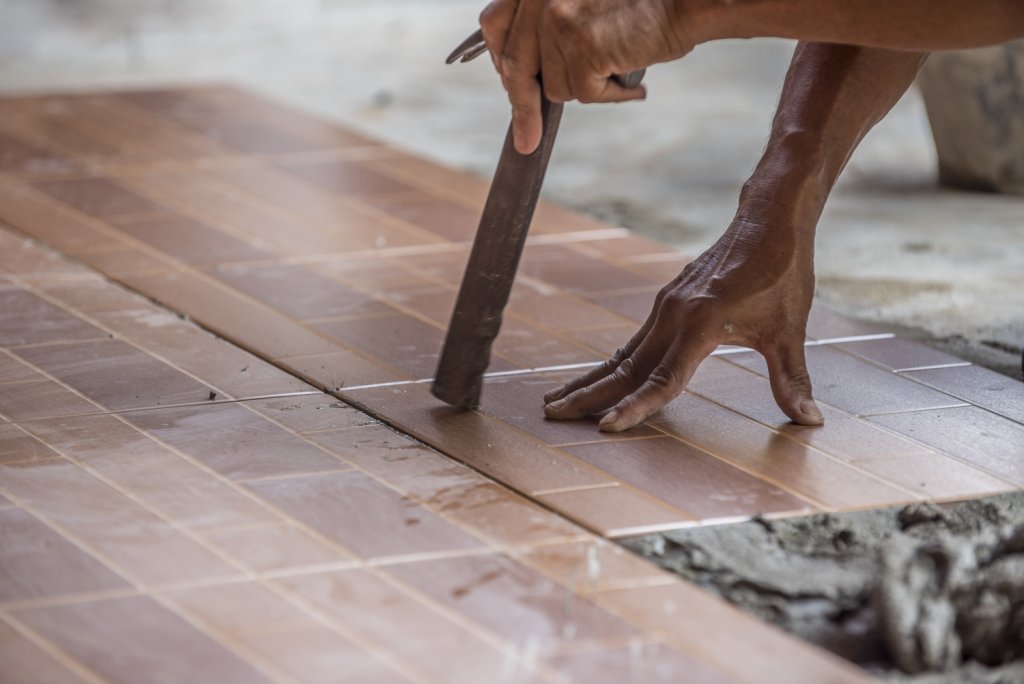
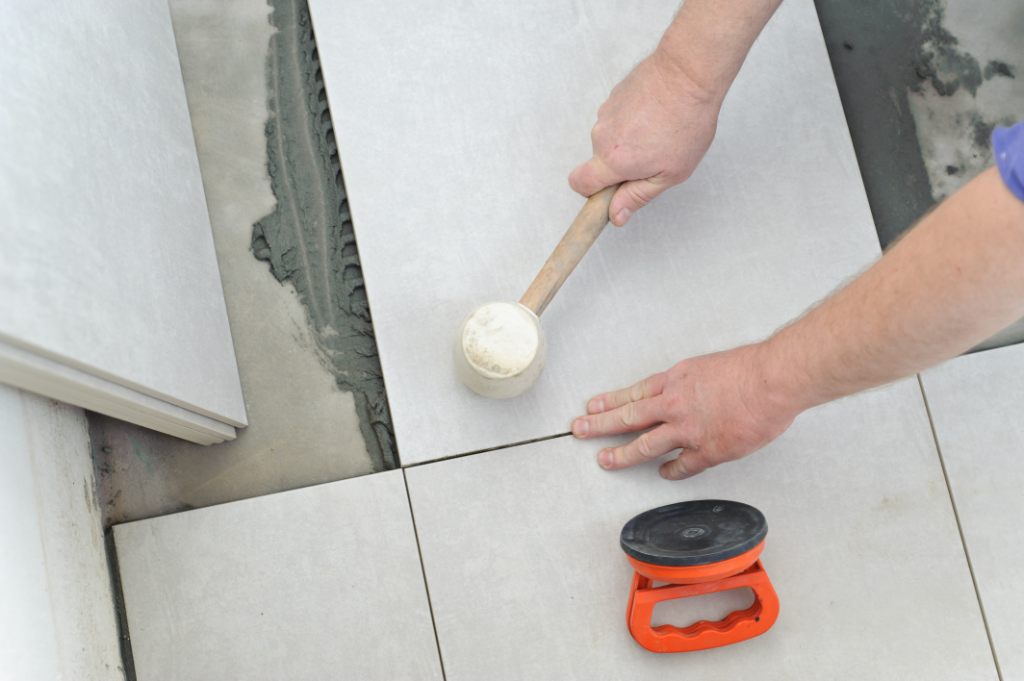
- After laying mortar, install, press and tap the tiles by wooden or rubber mallet to ensure top surface leveling and void minimization beneath tiles.
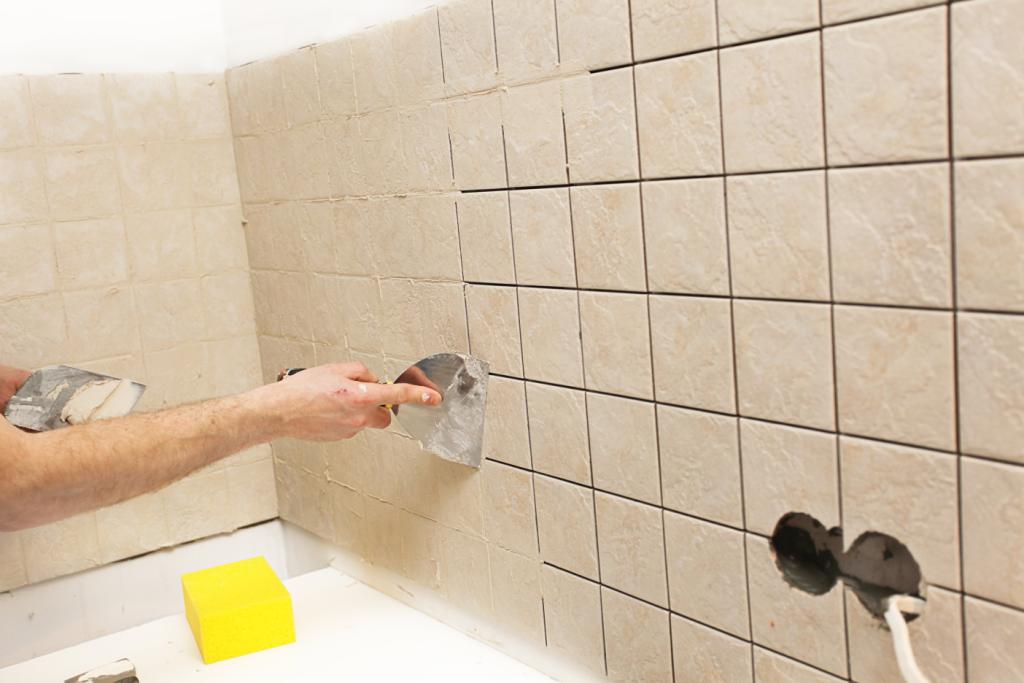
- Clean the joints with the cloth after initial drying of joints and apply white cement for better appearance.
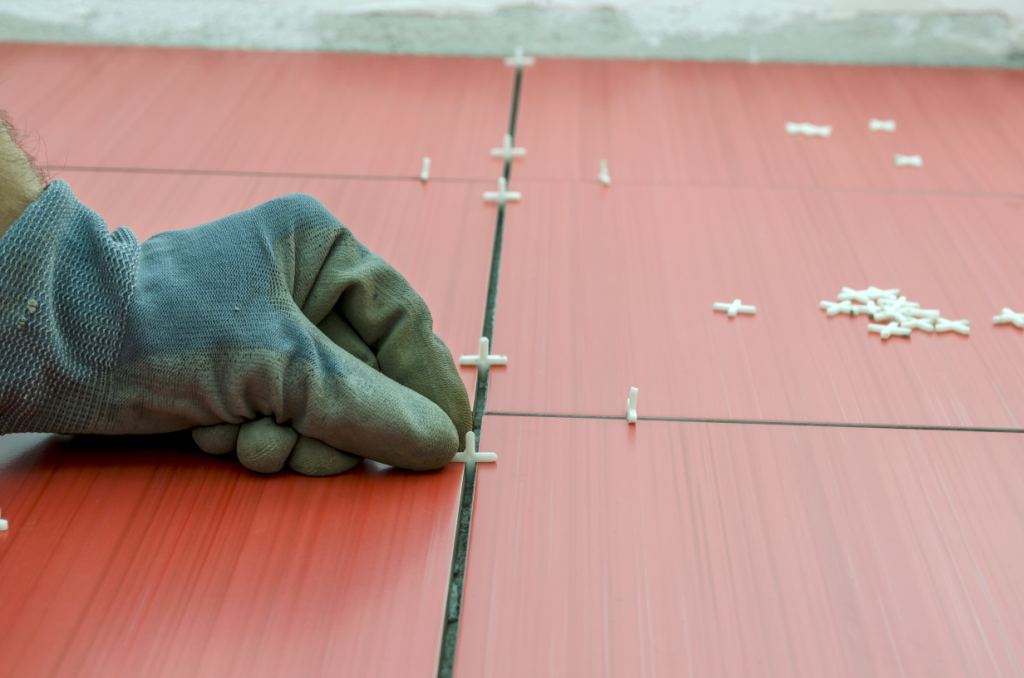
- Construction joints or tiles joints should be made properly with glass strip and must be filled with white cement or with same shade pigment at the time of tile installation.
04. Testing of Tiles Installation Work:
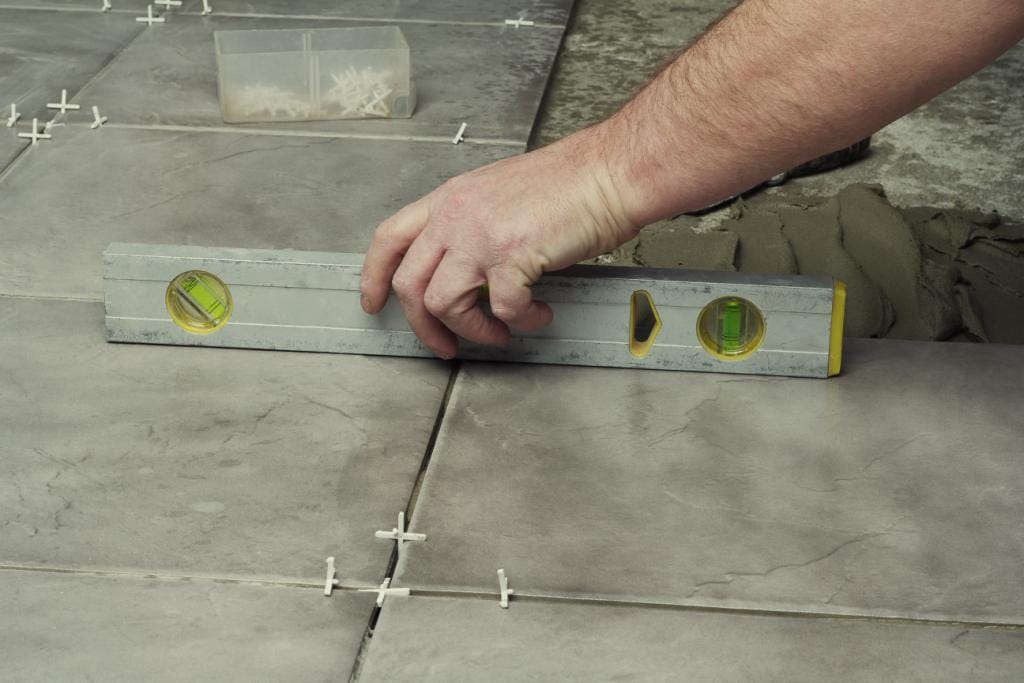
- Tiles installation work must be checked for true line and level.
- Special precaution must be followed at the time of joints checking as they are the main reason for leakages or dampness.
- The slope must be checked by dropping some water on the floor. Water should move in the direction of slope or towards the drain.
05. Care after Tile Installation Work:
- Do not step over the tiles for at least 24 hours after tiles installation work by restricting the unauthorized entry.
- Clean the area properly after the completion of tiles installation work.
- Tiling work must be cured for at least 7 to 10 days, and fill the joints with grout and clean them properly after completion of curing period.
06. Safety Analysis during Tile Installation Work:
Safety analysis during tile installation is very important to ensure the safety of tilers. Let’s discuss precaution for it.

- Method Statement for tiles work must be prepared for handling, placing and cleaning of materials before carrying out work.
- Tiler must be skilled and experienced.
- Ensure that all the safety measures (safety helmet, facemask, Rubber hand gloves, safety glasses and safety shoes) should be provided to tiler and worker of tiling.
- First-Aid measures should be available on the site where tile installation is being carried out.
- Always do job safety analysis and carry out trial tiles installation work on small areas before the main operation is to be started. If necessary, Additional safety precaution should be provided.
- Ensure proper ventilation and electric lights when tile installation is to be carried out in a confined space and a dark place.
- Hoist operator and polishing machine operator must be skilled, and license must be obtained from recognised agency otherwise, chances of accidents are more.
07. Integration of Services:
Integration of services like electric conduit, and plumbing line, inside expansion joint work must be checked and fully installed before commencing the tile installation work.
If the tiles drop, grooves, cut out, and sleeves are shown in the drawing, they should be constructed in right line, level, and position or as directed by the engineer-in-charge.
Must Read:
Removing Rust Stains from Tiles
12 Reasons why Tiles Get Buckled or Popped-up or Tent?
Why Tiles Get Cracked?
Cracked Tiles: Precautions & Repair!


